
How To Install VPN On LibreELEC The Easy Way With Free Addon
This page includes affiliate links where KODIFIREIPTVmay receive a commission at no extra cost to you. Many times, you will receive a discount due to the special arrangements made for our visitors. I will never promote something that I personally don’t use or recommend. Purchasing through my links directly supports KODIFIREIPTVwhich keeps the content and tools coming. Thank you!
This step-by-step guide will show you how to install VPN on LibreELEC with Zomboided VPN Manager plugin.
LibreELEC is a fork of Kodi based on the Linux operating system and carries the tagline, “Just enough OS for Kodi.”
Most people use LibreELEC on their Raspberry Pi devices.
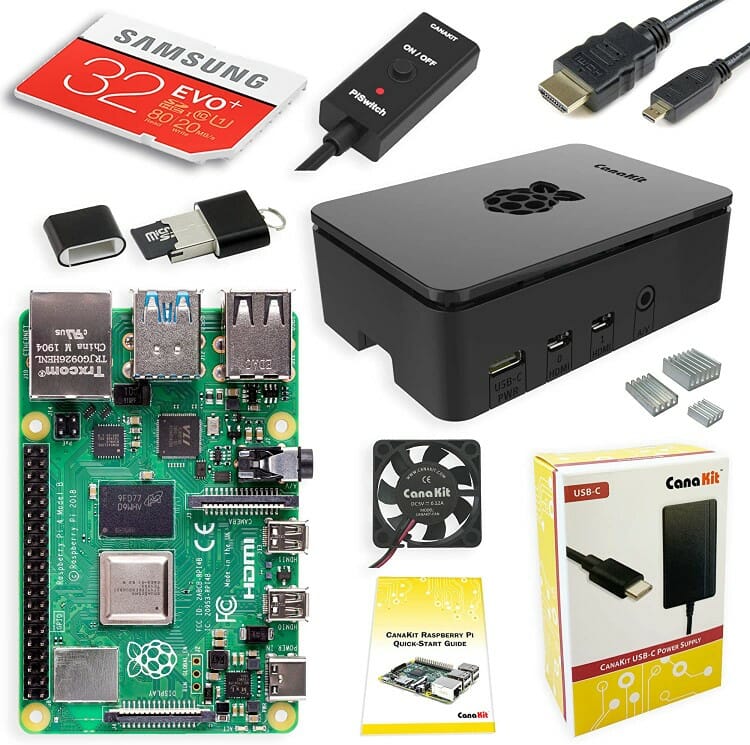
The Raspberry Pi is a credit card sized computer that hobbyists use to build various projects that require a small computer. As of this writing, the most recent model is the Raspberry Pi 4 and LibreELEC runs beautifully on this small box.
Since LibreELEC is based off the Linux Operating System, we can easily install an Open VPN Kodi addon that works very well.
In this guide, I will be using Quad VPN as my VPN service provider for a few reasons.
Quad VPN is the fastest VPN available which is extremely important when streaming large video files through LibreELEC.
They don’t store any logs which means everything that I stream is completely anonymous.
And best of all, Quad VPN works great with LibreELEC which you will see in my tutorial below.
You can use your Quad VPN account on unlimited devices so everything connected to the Internet can be protected.
![]() SAVE UP TO 74% WITH THIS TIME-SENSITIVE DEALUse Quad VPN on unlimited devices & when away from home.Quad VPN backs their service with a 30-day money back guarantee.
SAVE UP TO 74% WITH THIS TIME-SENSITIVE DEALUse Quad VPN on unlimited devices & when away from home.Quad VPN backs their service with a 30-day money back guarantee.
Click Here To Get Your Quad VPN Discount
I will be using the Zomboided VPN Manager in LibreELEC to manage my Quad VPN connection.
A huge thanks goes out to the developer behind the Zomboided plugin as it provides some nice advanced options which I get into in my video below.
You will find both a video tutorial and screenshot guide located below. I suggest using the video tutorial as I provide tips that I don’t cover in the screenshot guide.
VPN On LibreELEC With Quad VPN & Zomboided VPN Manager
Video Tutorial
Links Mentioned in Video
Quad VPN Discount
LibreELEC on Raspberry Pi Tutorial coming soon…
Screenshot Guide
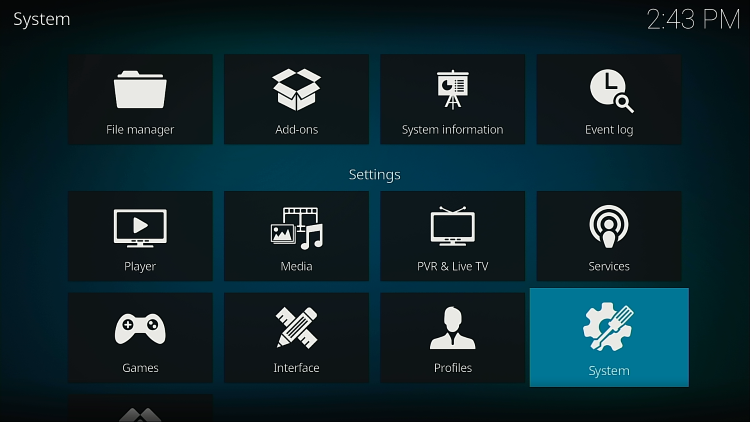
1 Click Gear icon.
2 Click System.
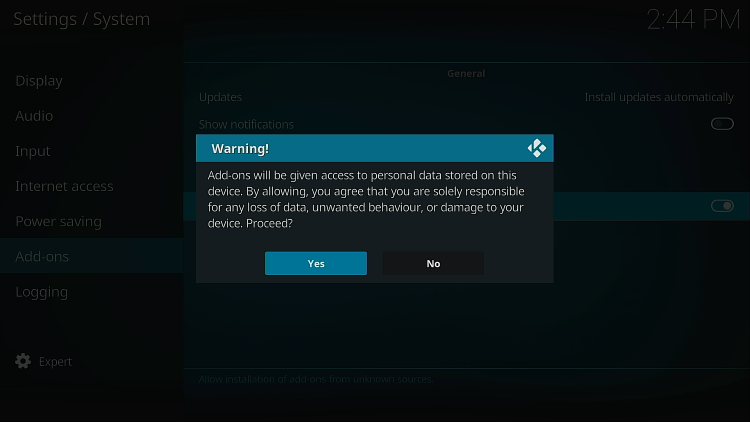
3 Click Unknown Sources.

4 Click Yes.
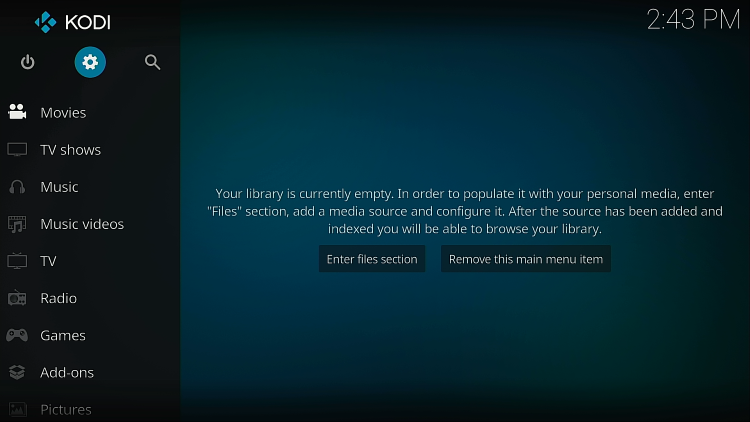
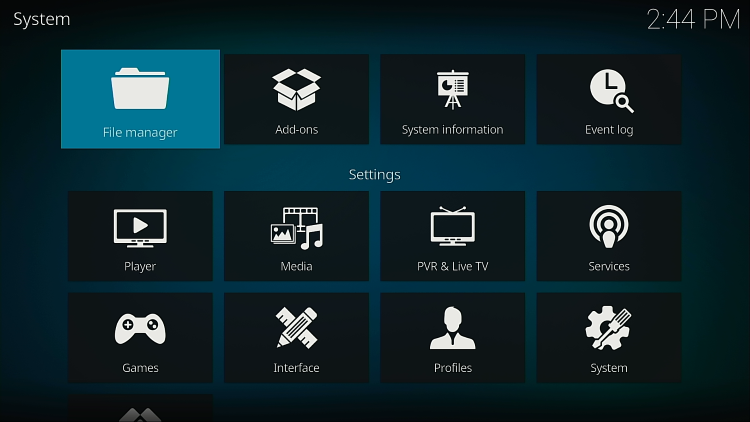
5 Click File manager.
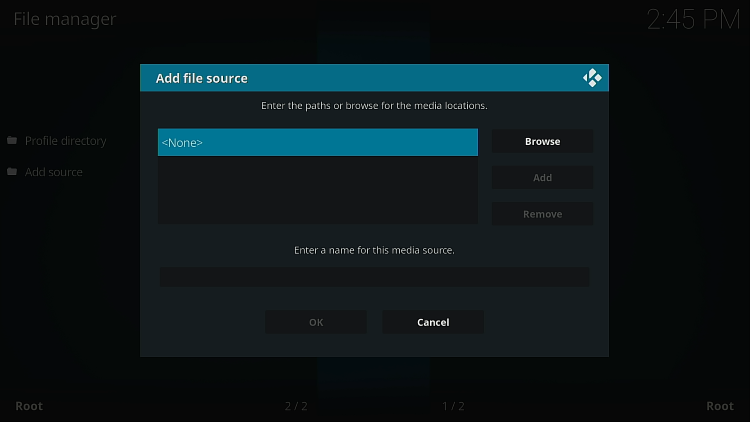
6 Click Add source.
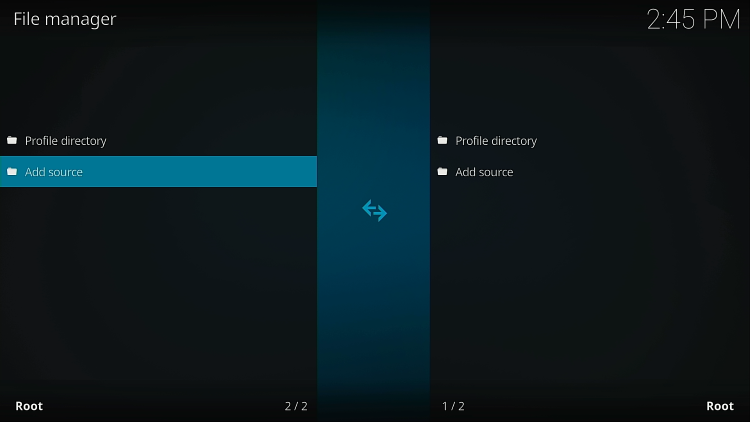
7 Click <None>.
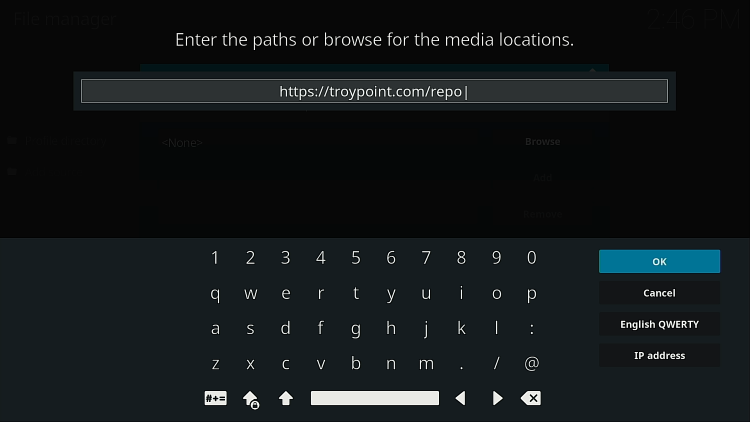
8 Type in Zomboided VPN Manager repo address – we are hosting this to make it easier to install – https://troypoint.com/repo
9 Name the repo KODIFIREIPTVor anything you choose…zomboided, etc.
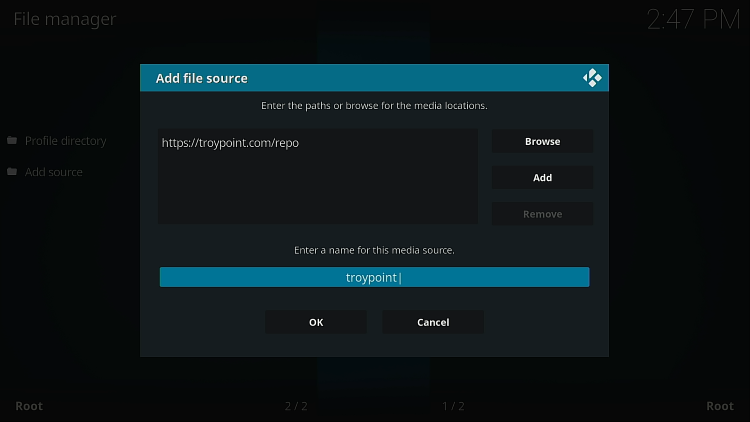
10 Click OK button.

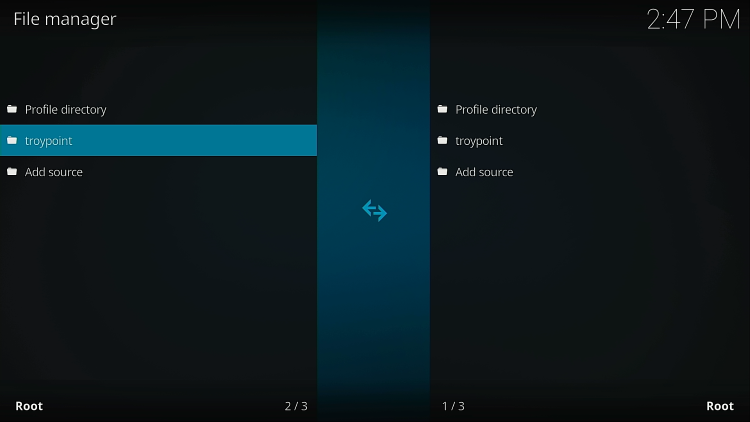
11 You will now see KODIFIREIPTVin the File manager list.
Click the back button on your remote.
12 Click Add-ons.

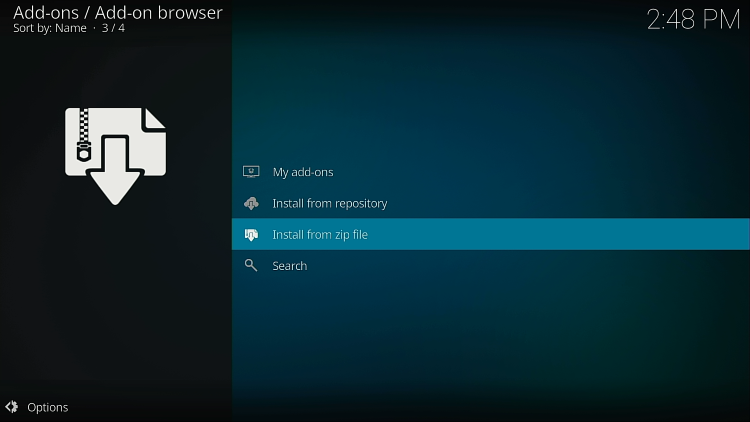
13 Click Install from zip file.
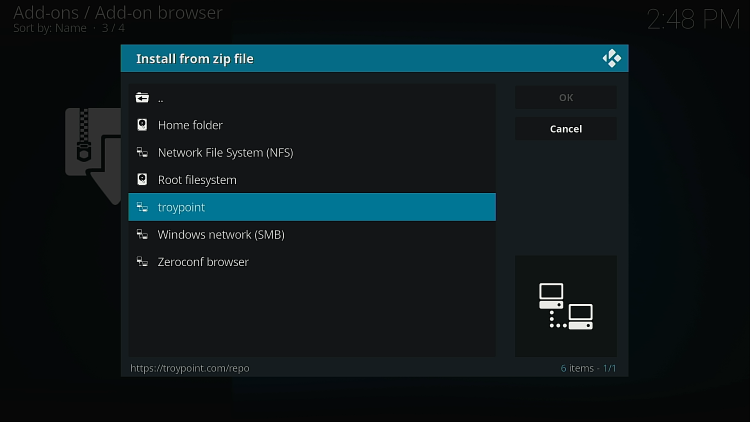
14 Click KODIFIREIPTVor whatever you named the repo in the previous step.
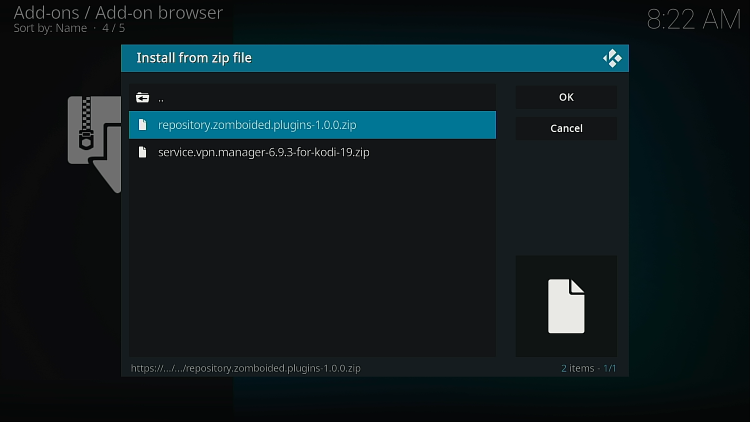
15 Click zomboided plugins repo zip file.
Important: If you’re using LibreELEC running Kodi 19 Matrix you will want to click the zip file for Kodi instead. When you do this, it will install the addon immediately and you can proceed to step #21.
16 Wait until you see Zomboided Add-on installed success message in top right corner of screen.
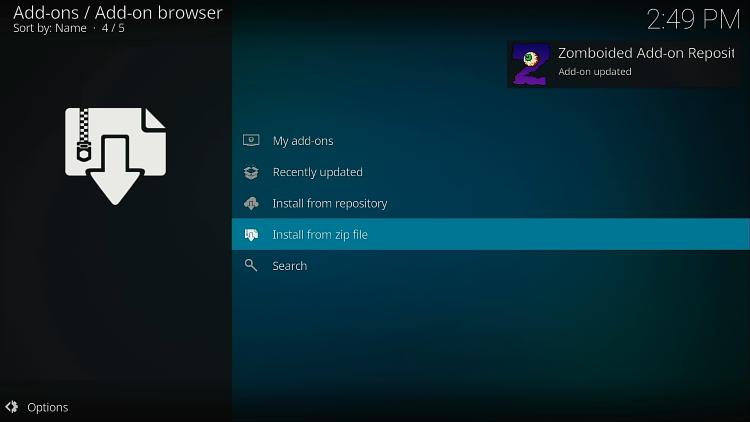
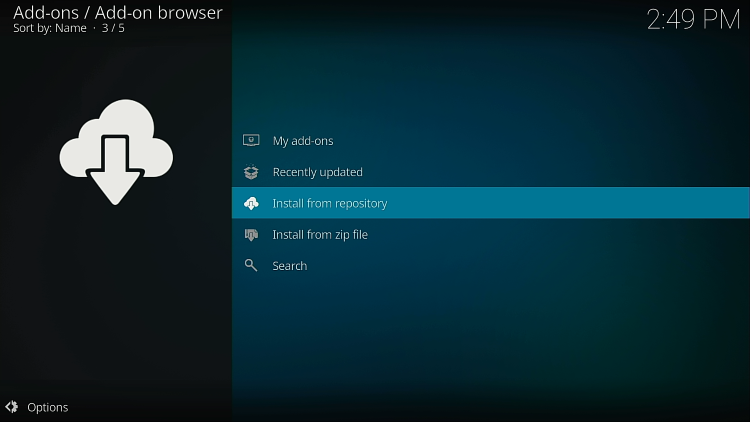
17 Click Install from repository.
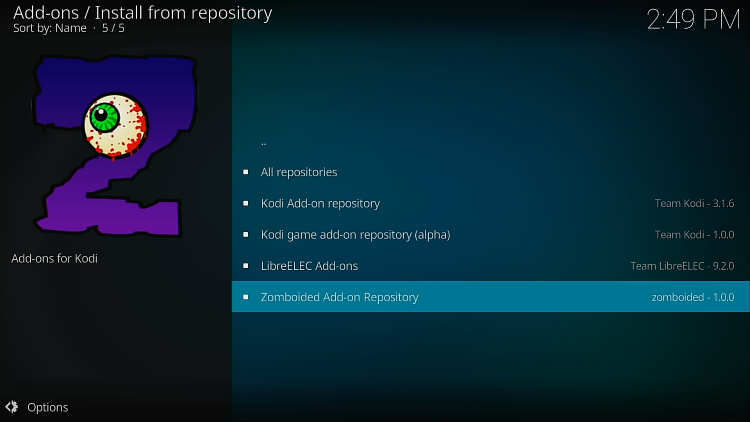
18 Click Zomboided Add-on Repository.
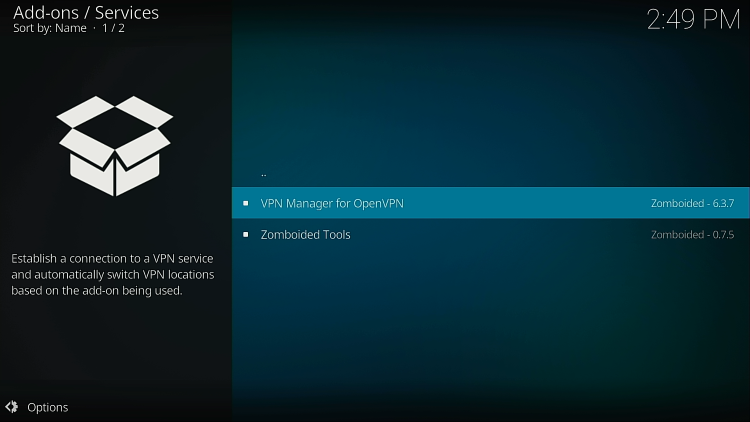
19 Click Services.

20 Click VPN Manager for OpenVPN.
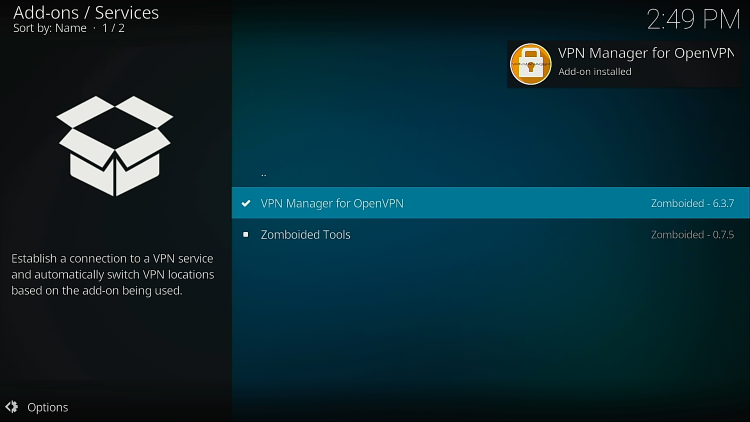
21 Click Install.

22 Wait until you see VPN Manager for OpenVPN confirmation message in top right corner.
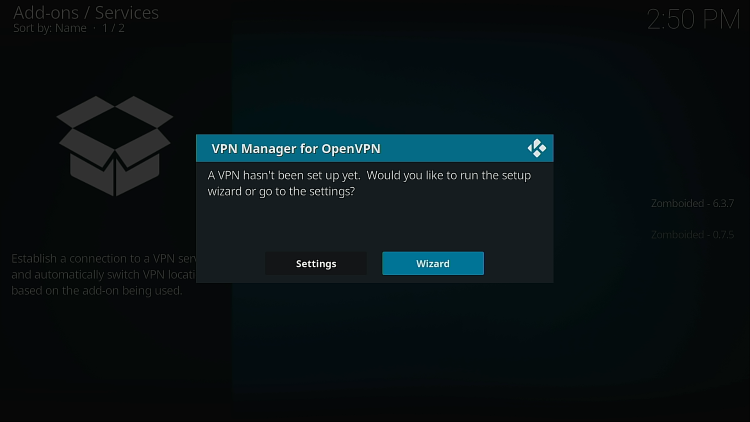
23 Click Wizard.
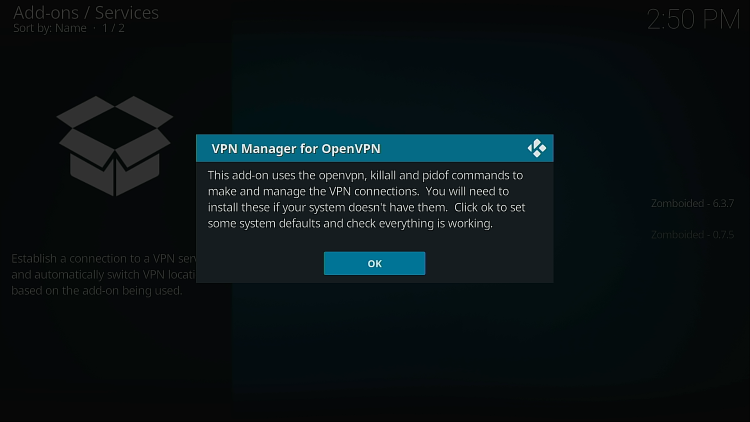
24 Click OK.
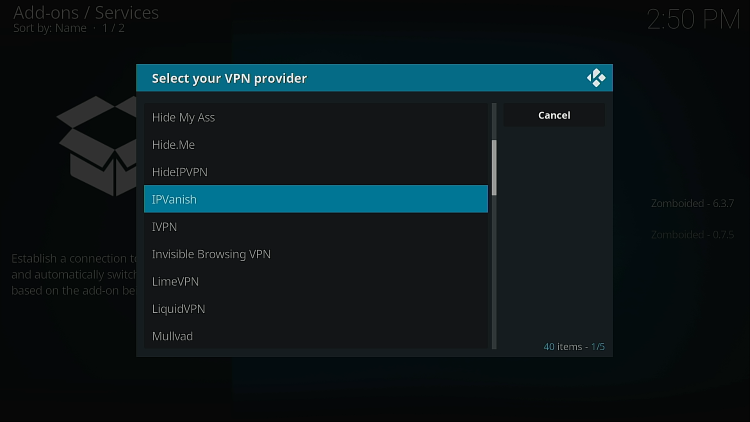
25 Choose Quad VPN.
26 Enter your Quad VPN username.
Click Here to Get Quad VPN Account
 Quad VPN username” width=”750″ height=”422″ srcset=”https://troypoint.com/wp-content/uploads/2021/05/vpn-on-libreelec-26-150×84.png 150w, https://troypoint.com/wp-content/uploads/2021/05/vpn-on-libreelec-26-200×113.png 200w, https://troypoint.com/wp-content/uploads/2021/05/vpn-on-libreelec-26-300×169.png 300w, https://troypoint.com/wp-content/uploads/2021/05/vpn-on-libreelec-26-400×225.png 400w, https://troypoint.com/wp-content/uploads/2021/05/vpn-on-libreelec-26-600×338.png 600w, https://troypoint.com/wp-content/uploads/2021/05/vpn-on-libreelec-26.png 750w” sizes=”(max-width: 750px) 100vw, 750px”/>
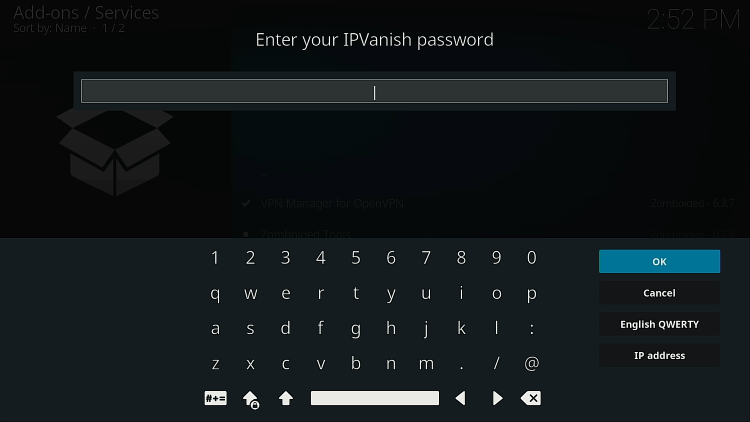
27 Enter your Quad VPN password.
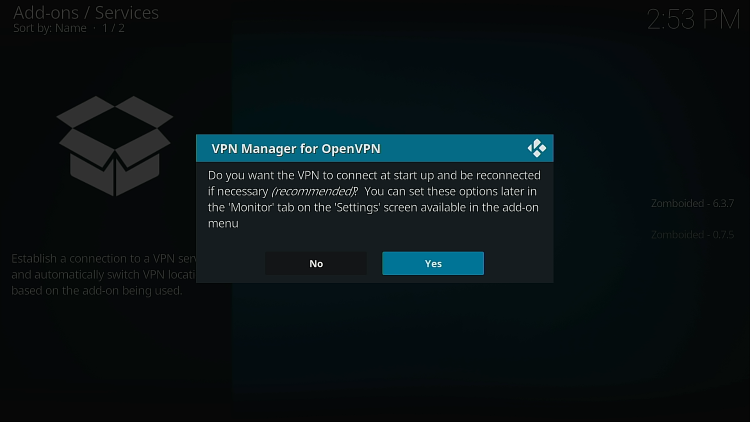
28 Click Yes.
29 Click OK.

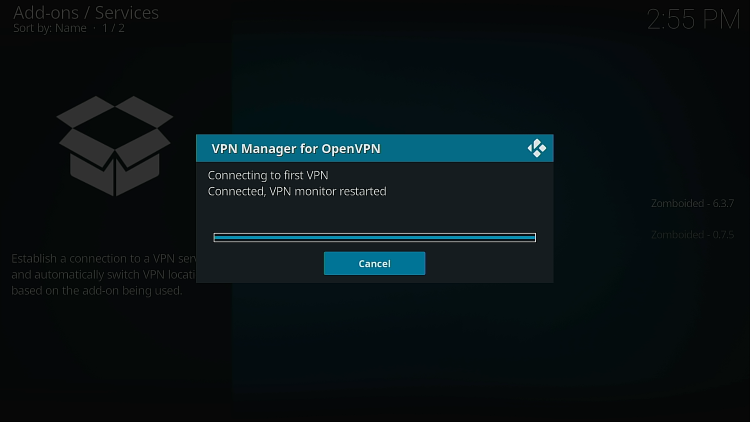
30 VPN will begin connecting. Be patient as this may take a few minutes.

31 Choose which server you want to connect to.
Choosing the closest to your physical location will provide fastest speeds.

33 Wait for VPN on LibreELEC to connect.
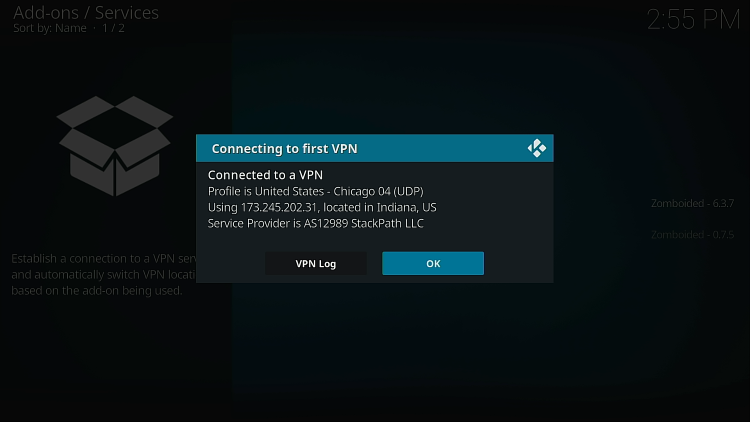
34 This shows that the VPN connection has been successful.
Click OK.
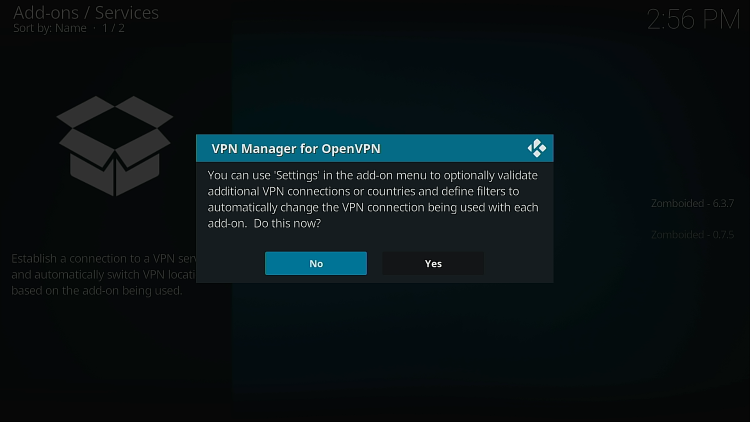
35 This explains that the connection that has been setup is now the primary connection.
Click OK.

36 Click No.
View my video above for important information on settings.
Congratulations! You have now installed VPN on LibreELEC!
Be sure to watch the video at the top of the page for tips on getting the best possible speed out of your VPN on LibreELEC.
Related

The team at Kodi Fire IPTV strongly suggests that you use a VPN at all times.
Be it for browsing, watching Kodi, watching IPTV or anything else – the one that we recommend is Quad VPN. They provide you with very fast speeds, while keeping you protected. They can also unblock most streaming sites in the US and UK!!
Grab your own Quad VPN and regain your online privacy now!
")


