
Plex Media Server Setup Guide for 2020
The following in-depth guide will show you how to set up and use Plex Media Server for all your home media needs.
Using Plex is a fantastic way to store all of your Movies, TV Shows, Home Videos, Pictures, and more in one centralized location.

Plex is a media organization service that lets you store content on your “home server” and broadcast them to any device you prefer.
This article features a video guide with detailed instructions that will help you get started using Plex. This video will show you the step-by-step process for Plex Setup including registration and more.
However, we suggest reading the entire post below to learn everything there is to know about Plex and how to get the most out of it.
What is Plex Media Server?
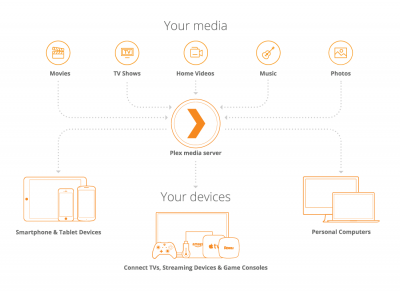
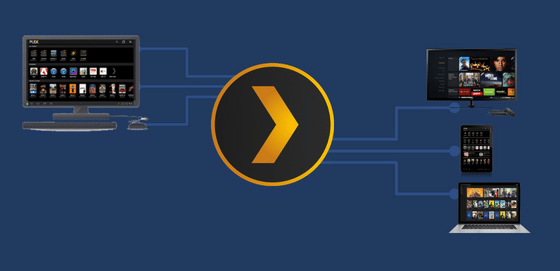
Plex Media Server is an all-in-one media software system that stores and transmits content from a central location to all your favorite devices.
Plex works as a “hub” for all your favorite media including Movies, TV Shows, Photos, Music and more. You can then install the Plex app onto any device to access this content wherever you are.
Users oftentimes install Plex on their favorite streaming device, including the Amazon Firestick, to stream downloaded movies from their home server.
However, Plex supports tons of devices including Fire TV, Android, Roku, Apple TV, Chromecast, and much more.
Plex is an all-encompassing media manager and might be the last streaming app you’ll need.
It is also a great tool for storing home videos, photos, and other personal items without taking up space on each specific device.
Plex gives you an easy way to access all of your stored media no matter your location.
A new addition to the Plex arsenal is its streaming app that is included with your free Plex subscription.
This app has tons of Movies and TV Shows that are free to stream on any device that has the Plex app.
While the main characteristics of Plex are provided with free registration, Plex also has a premium paid service available.
By purchasing Plex Pass, you will have access to even more features. This includes DVR abilities to record OTA content and full mobile app compatibility.
To get started with Plex you will first need a home media server to store all of your files. Many find that their home PC or desktop computer works perfectly for this purpose.
Plex Media Server Requirements
Home Media Server
To use Plex and all of its capabilities, you will want a “home media server” that has the CPU and storage capacity to host all of your content.
Because Plex transcodes your files, it is important to have a Plex Media Server that is powerful enough to do so in an efficient manner.
One of the greatest features Plex offers is the ability to convert all files into playable content on each device. For example, a movie in 1080p will be played in a suitable format on whatever device you choose to use.
The best way to set up a Plex Server is by using a PC that many already have in their homes. Most PC’s will have enough power and memory to store all of your media in one centralized location.
This includes home movies, pictures, downloaded content, and more. These files will be stored within this server so it is important to have a reliable device.
However, there are tons of other options one can use as their Plex Home Server.
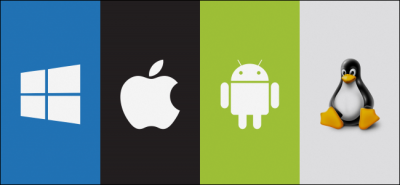
Plex Media Server is compatible with the following Operating Systems:
Linux
Mac
Windows
NVIDIA SHIELD
Netgear Nighthawk X10 Router
NAS Devices such as Drobo, Netgear, Synology, etc.
If you already have a PC at home, you can easily use this as your Plex Server due to its high processing power.
Plex recommends at minimum, using an Intel Core i3 as CPU requirement. However, if you plan on having multiple people simultaneously accessing content, you may need something more powerful.
Or, if you plan on adding a lot of media to your home server, you may want to consider an external hard drive if you are worried about storage space.
The reason you need a somewhat powerful processor on your Plex Media Server is due to the fact that your media files may need to be transcoded depending on the device that you are tying to play them on.
As stated above, your Plex Media Server must convert files to a compatible format for your device and this requires processing power. Depending on your playback device, only video may need to be converted, only audio, or both.
If your device only requires that your audio be converted, this doesn’t take as much processing power as video. Therefore, a faster device isn’t needed.
If you are planning on putting media on a Plex Media Server with low processing power, you will want to ensure that your files on said server won’t require transcoding by your device.
To play it safe, I suggest using a powerful processor so you won’t have to worry about this transcoding dilemma.
Remember, since you will be accessing the files remotely, you will want a server that is always powered On. If you are trying to watch a movie from a separate location and the devices cannot sync, you won’t be able to view this movie.
CPU Requirements
One of, if not the most important factors in selecting a device for your Plex Server is CPU.
CPU stands for Central Processing Unit or central processor and is the so-called “brains” of any computing device.
Your device’s overall CPU can be determined by CPU Mark and CPU Value. The higher these numbers are, the more power and efficiency your device will have.
Below are the minimum suggestions for CPU by Plex:
No transcoding: Intel “Atom” 1.2GHz (NAS devices based on ARM processors should also be capable of at least one stream with no transcoding)
720p transcode: Intel Core i3 3.0 GHz
1080p transcode: Intel Core i5 3.0GHz
4K transcode: Intel Core i7 3.2GHz
If you plan on using multiple Plex devices simultaneously, you will need a home server with high processing power. This is an important step in getting started with Plex.
Every device with CPU is given a specific PassMark score. This helps determine what device you will need.
Based on what we know about Plex transcoding requirements, the chart below will help to decide if your device is suitable for your streaming needs:
PassMark CPU List
In this guide, we will be using an Intel Core i7 4 GHz home computer with Windows 10 that you can easily purchase on eBay.
Plex Client Devices
Besides the Media Server, Plex users will also have streaming devices in which their media files can be delivered to. These streaming devices will have a “Plex Client” application that allows you to play content stored on your home server.
One of the most popular devices people use with Plex is the Amazon Firestick. This is a great device for streaming content and is a fabulous streaming device overall.
However, the Plex Client app can also be installed on tons of platforms including:
iOS Devices
Android Devices
Apple TV
Roku
Kodi
Playstation
Xbox One
and more
There is no limit to the number of Plex Client devices one can have. This means that if you have multiple TV’s in your house, you can access Plex on all of them simultaneously with the Plex Client app.
This makes Plex fabulous for those who travel frequently or are not always at home to view content.
The Plex Client App on iPhone or Android phone will not have full functionality without a Plex Pass subscription. This means if you want to stream media from your home server onto your mobile device, a Plex Pass is needed.
However, all other Plex Client apps including Firestick, Android TV Box, Roku, and more will have full functionality with the free Plex membership.
Media
If you are like me, you probably have more media files than you know what to do with. This includes photos, music, movies, shows, and everything in between.
Plex is the perfect tool to store all of these files in one location yet still have access to them anywhere you might be.
The best way to use Plex is by organizing your media into a centralized folder with different categories for your various files.
Here is an example:
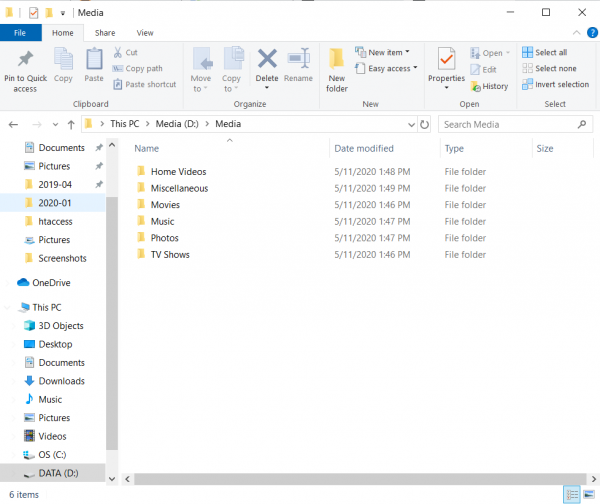
It is best to sort your content into these individual folders so it is easy to access via the Plex Client app on your device.
The reason we do this is because Plex uses scanners and agents to retrieve information for your downloaded content.
This means that Movies and TV Shows in your Media folder should be named properly so Plex can integrate information about each Movie and TV Show within your folder.
Movies
Users should separate movies into a dedicated folder inside their media folder. This will allow Plex to match content information such as trailers, cast, reviews, and more.
The best way to do this is to name content their full title with the year at the end. Here is an example:
MovieName (release year).ext
or
Castaway (2000).ext
TV Shows
TV Shows within Plex should follow the same format as Movies for naming and organizing.
Plex uses TheTVDB.com to match tv show information and when naming your tv show files, you should use the same structure.
When naming shows with the same or similar names, make sure to include the year of each series. If you have multiple seasons, you must also include Season 1, Season 2, etc. in your title.
Here is an example:
Grey’s Anatomy
Season 1
Grey’s Anatomy – S01E01
Greys’ Anatomy – S01E02
Season2 2
Grey’s Anatomy – S02E01
For detailed instructions on naming your content, use the link below for Plex Naming Support:
Naming and Organizing Your Movie Files
Naming and Organizing Your TV Show Files
Transcoding
In order for Plex to share content from your home server to your Plex Client app, it must first transcode this media to the correct format.
Transcoding is simply the process of converting a file into a smaller size while still keeping the video resolution quality from your initial download.
For example, if you have a downloaded movie that is in 4k UHD that you plan to play on your mobile device, Plex must transcode this file to play on your device.
Plex automatically transcodes all media stored in the home server when it is sent to play on the Plex Client App. However, we can also manually transcode your files within the settings of your Plex Media Server.
While we suggest using the default automatic transcode option within Plex, there are a few reasons you may want to manually set the transcoder quality.
This can be done within the Settings Panel of the Plex Media Server:
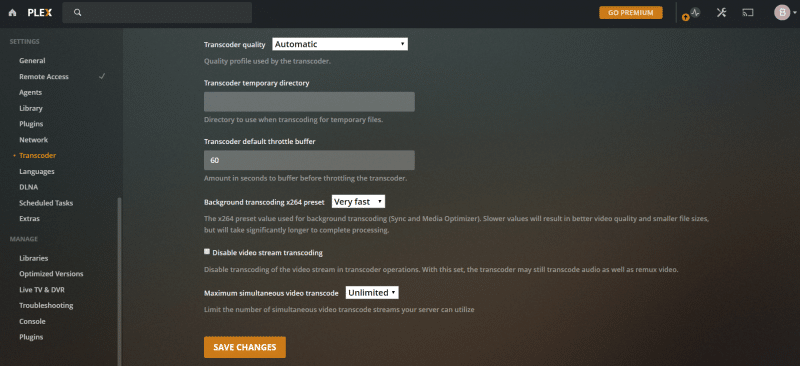
Adjusting the transcoder quality can either: speed up the transcoding process, slow down the transcoding process, or improve resolution quality.
Besides the automatic transcoding option, users have 3 choices:
Prefer higher speed encoding – this will speed up transcoding time but diminish quality
Prefer higher quality encoding – this will slow down transcoding but improve file quality
Make my CPU hurt – this will use the most CPU but present the best quality
If you are a novice Plex user or don’t want to mess with any of the settings, we recommend leaving the Transcoder set to automatic.
Plex Subscription
Most Plex users find the Plex Free Service is adequate for their media and streaming needs.
The Free Version of Plex will provide you with the following features:
Unlimited use of Media Server
Movie and TV Streaming App
News Podcasts, and Web Shows Support
All non-mobile Client apps (and mobile apps with some restrictions)
TIDAL 30-second song previews
However, Plex also offers a premium subscription called Plex Pass with some advanced benefits.
Plex Pass
For those who want a more in-depth experience, you may want to consider purchasing a Plex Pass subscription.
The Plex Pass is available in 3 packages including monthly, yearly, and lifetime:
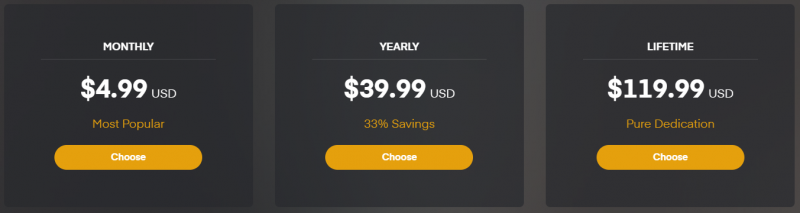
Plex Pass subscribers get everything included in the free Plex package but with some additional features.
This includes:
Full mobile app use
Stream trailers and extras
Set up Plex Home with the ability to switch between accounts and restrict access
Early Preview access to new apps and features
The biggest component provided with the Plex Pass is the ability to use the full functionality of the mobile app.
Free users are not able to transmit content within their Plex Server to the mobile app. That means if you want to view content on your mobile phone from your home server, you must have the Plex Pass.
This is perfect for those who travel frequently or want to view their home media on the go.
Plex Live TV & DVR
For those who want to get more out of Plex, the Live TV & DVR feature works great to record shows OTA (Over the Air).
This will require a Plex Pass as well as a DVR Tuner and an OTA Antenna.
You can check out a complete list of Plex supported Tuners using the link below:
Plex Supported DVR Tuners
Most OTA Antennas are compatible with Plex and work well with any of the tuners listed above. Both Indoor and Outdoor antennas will work with the Plex DVR system.
Best TV Antennas for Streaming Local Channels
While the Plex Pass adds some beneficial extras to your streaming experience, most will find the free version of Plex is adequate for their needs.
Plex Media Server Setup
Video Tutorial
Screenshot Guide
After determining whether to purchase Plex Pass or use the free version, we can sign up for service and install the Plex Media Server.
Read the requirements above if you are unsure of what to use as a Home Server for Plex.
Before installing the Home Media Server, we must register for Plex Service.
If you don’t already have a Plex account you can create one, or log in.
1. Visit plex.tv and choose Sign In (or Sign Up if you are a new user)

2. Sign in using one of the methods below

3. After signing in or signing up, choose My Account in the upper right-hand corner

4. Click Downloads

5. Choose the Media Server for your device and click Download

6. When prompted, click Install

7. Wait for Plex Media Server to install

8. After download finishes your device will need to restart. Click Restart

9. After restarting, we can launch Plex Media Server

10. Choose Got it!

11. Name your Home Media Server and click Next (Make sure to check the box next to “Allow me to access my media outside my home”)

12. Click Next again

13. Click Done
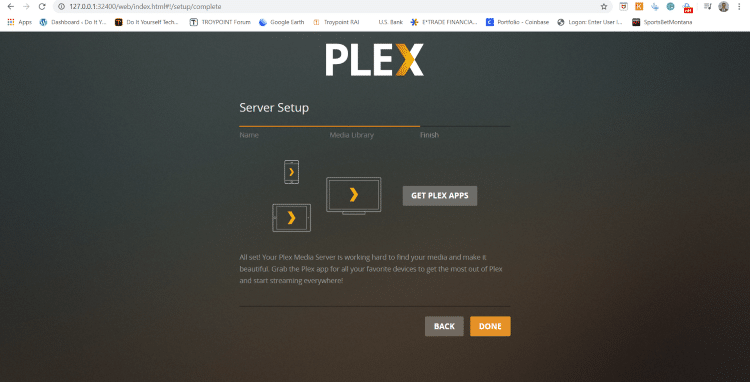
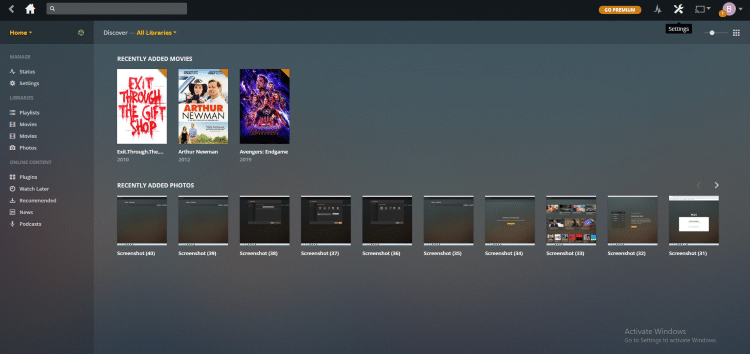
14. You will now encounter the home-screen of Plex Media Server. Click Settings (tool icon) in the upper right-hand corner

15. Choose Remote Access from menu side-bar and make sure your Server is accessible outside your network

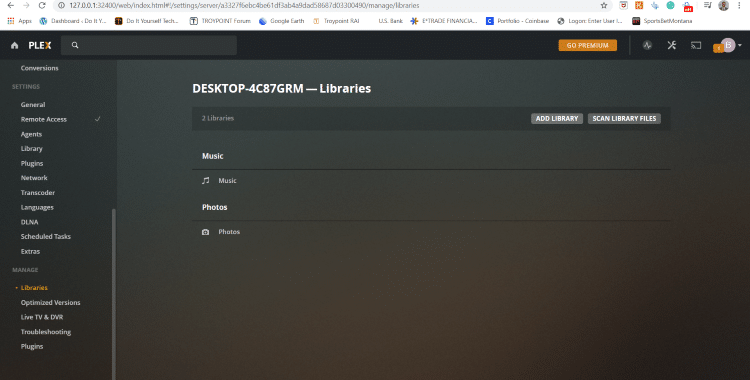
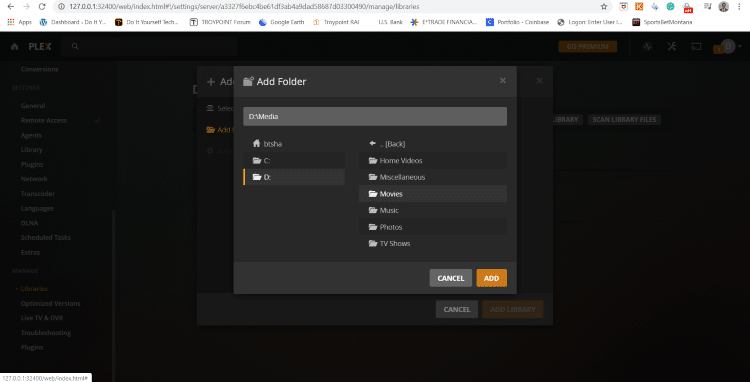
16. Click Libraries under Manage and select Add Library
17. Here we can add files from our previously created Media Folder. Click Movies (or other media you wish to add)

18. Click Next

19. Choose Browse for Media Folder
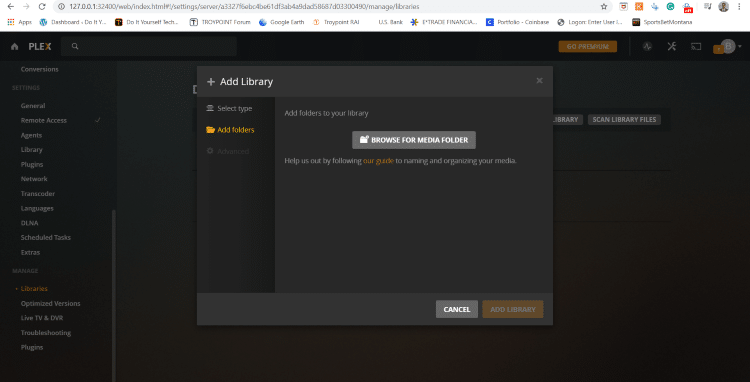
20. Locate your saved folder with content and click Add

21. Find your Movies folder and click Add again
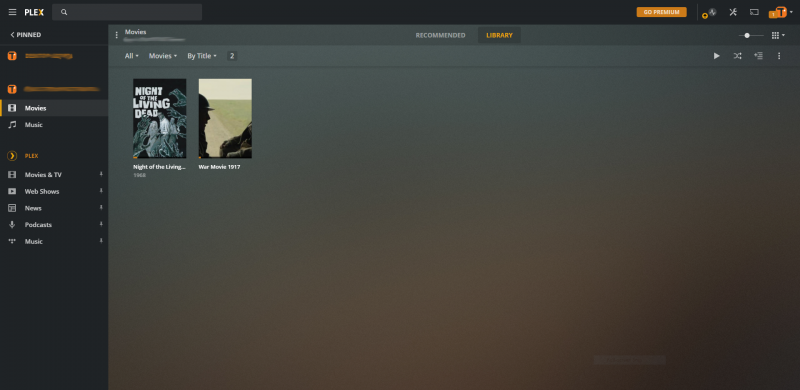
22. Your Movies should populate into the proper Library
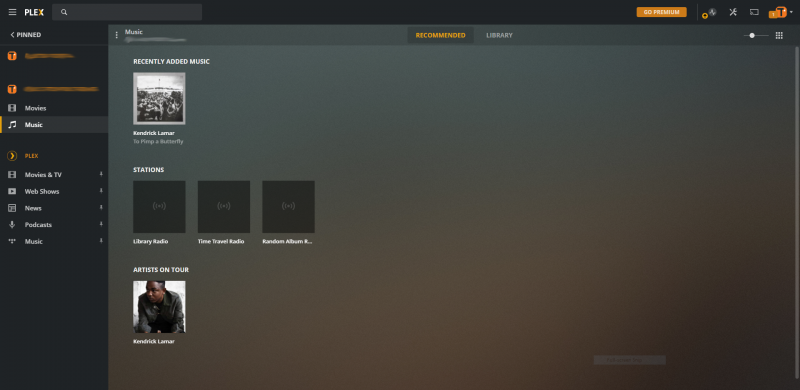
23. You can now add other media using the same process. Here, we input an Album
That’s it! You can add as much media as you wish to your server including Movies, TV Shows, Music, Photos and more.
Once your server has been set up you can now access it via apps on your favorite devices.
IMPORTANT NOTE: The Plex Media Server runs within your Web Browser and is not a stand-alone application. This means that launching Plex on your home server will open Plex within your preferred Browser.
If you are unable to launch the Plex Server, you can go to https://app.plex.tv/desktop
Installing and Using Plex Client Apps
After media has been added to your Plex Home Media Server, we can install and setup the Plex Cleint App on various streaming devices.
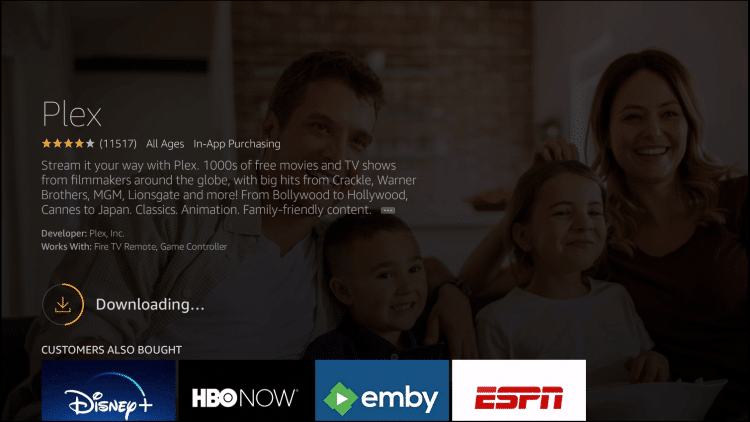
In the instance below, we will install Plex on a Fire TV Stick 4K. However, you can easily install the Plex app from any device’s App Store.
1. From device home screen, scroll to search and type Plex

2. Choose the Plex app

3. Click Download

4. Wait for app to install
5. When finished, click Open
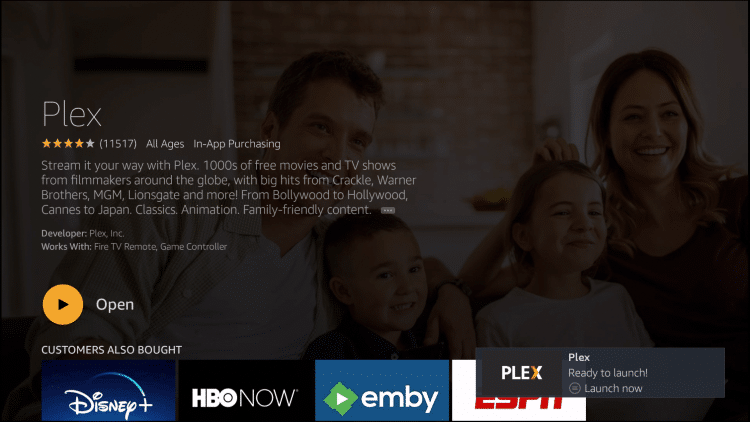
6. Select Sign In
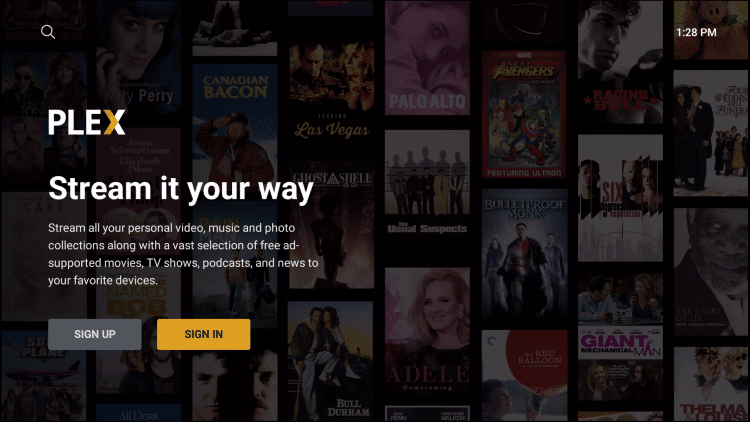
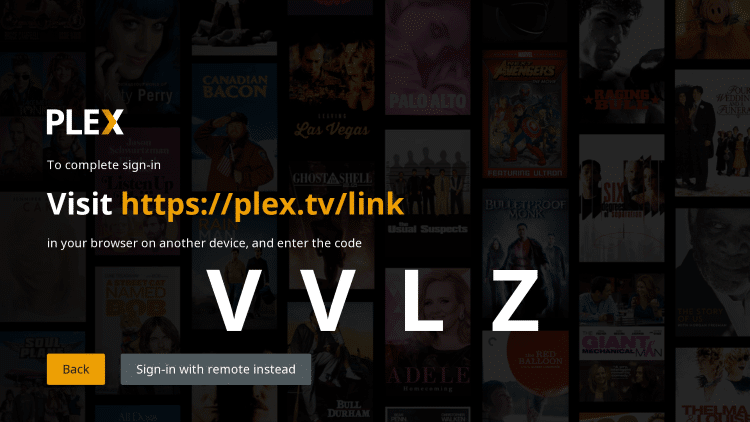
7. Take note of activation code

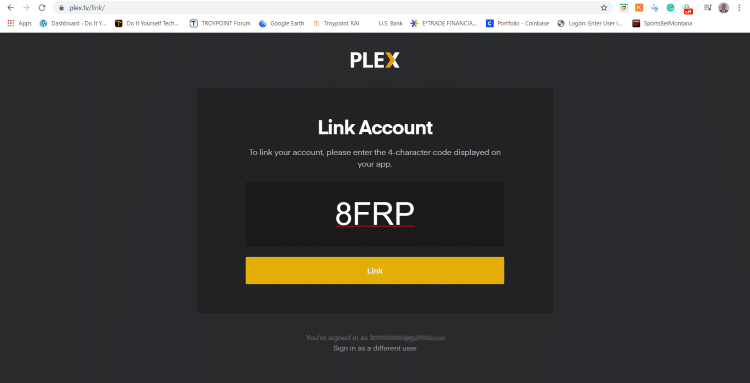
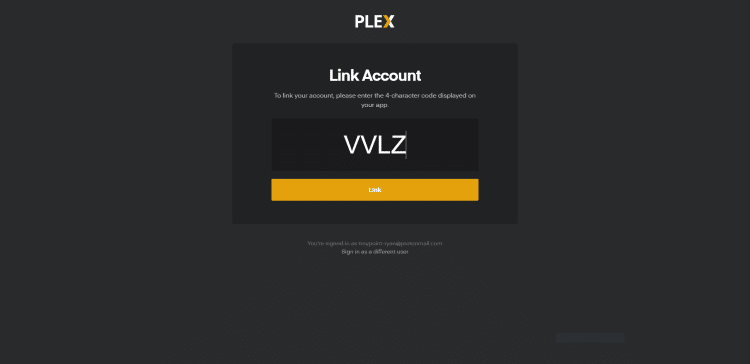
8. Open any Browser and go to plet.tv/link and enter the provided activation code. Click Link
9. Wait for Plex to check Code
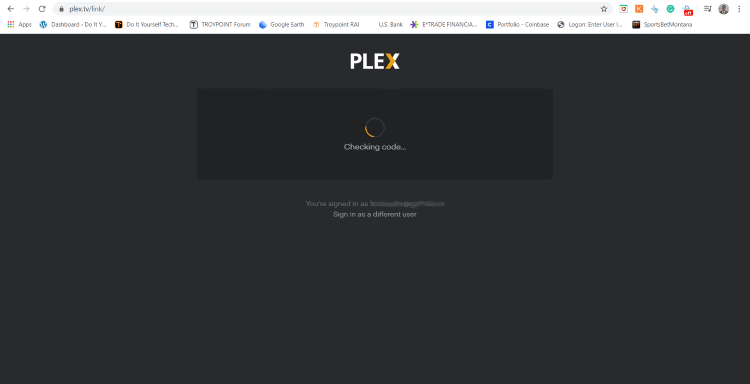
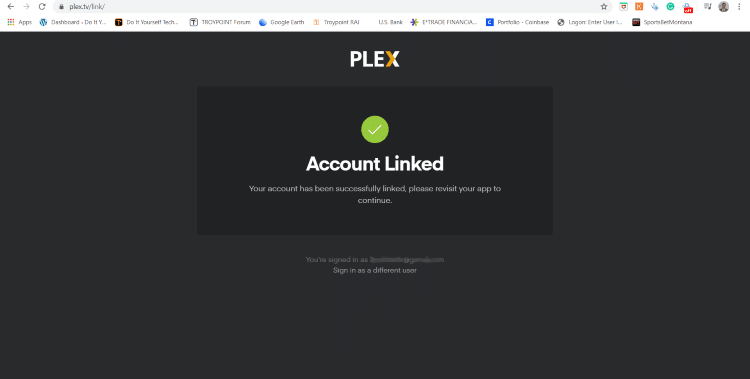
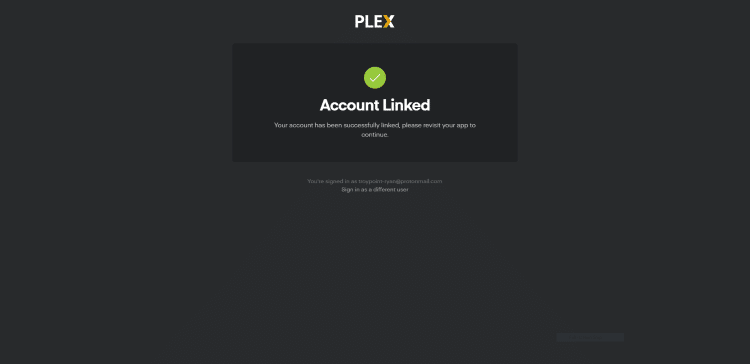
10. Account Linked message will appear when your device has been authorized
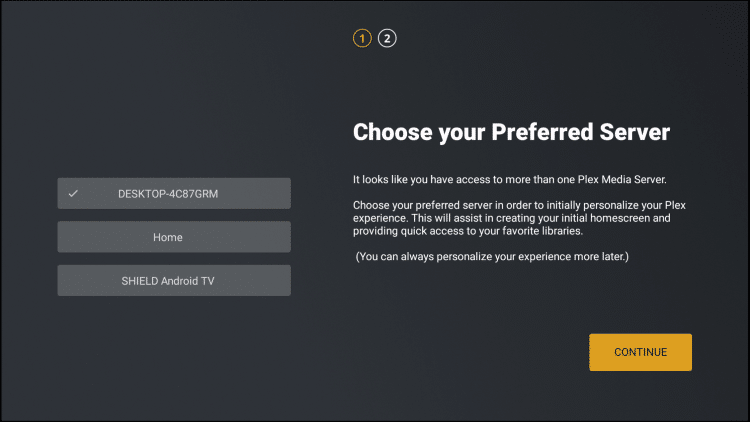
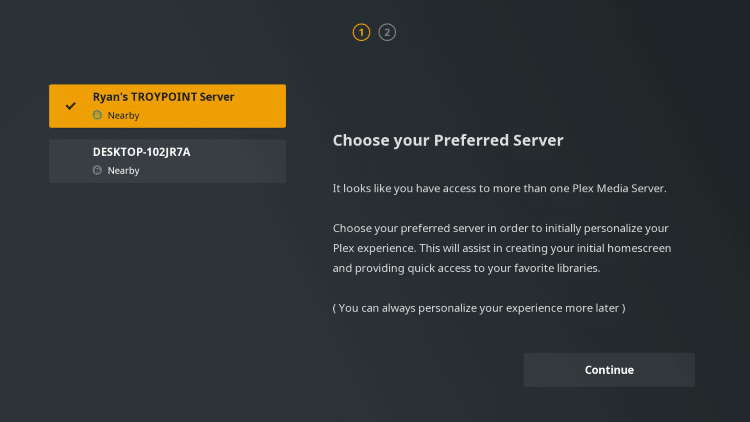
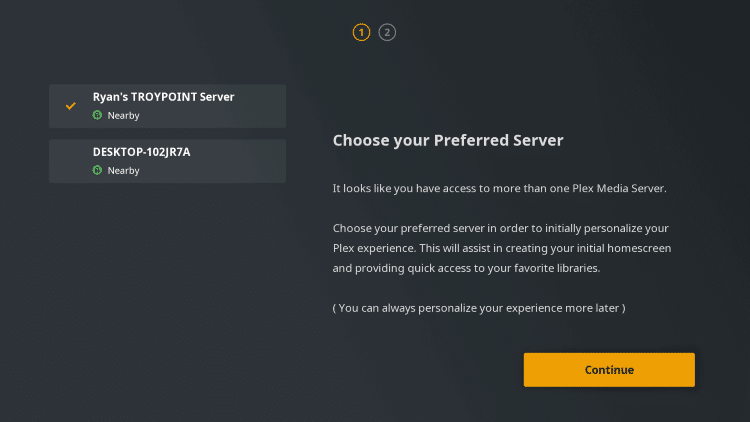
11. On your streaming device, choose your Plex Media Server

12. Click Continue
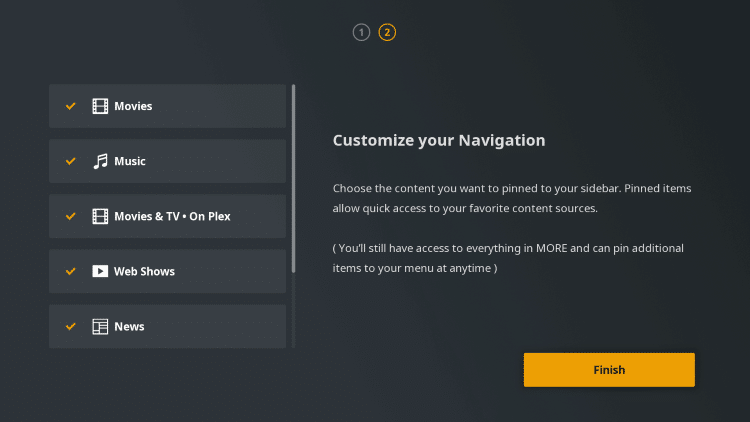
13. Customize your content and choose continue again

14. On the left side menu bar, hover over Movies and click Library

15. Movies from your Home Media Server will now appear

16. You can also view downloaded Music or other media

That’s it! Your Plex Client app is now set up and ready for use.
For those with a Roku device, the guide below will show you how to install and set up Plex on Roku.
How To Install Plex on Roku
Installing Plex on Roku will follow the same steps as those on Firestick or other device.
Because Roku does not allow for the side-loading of apps or APK’s like the Firestick, installing Plex on Roku is a great way to get tons of content not available on the device itself.
Using Roku to watch your downloaded content is a great way to get the most out of this powerful device.
Follow the steps below to install Plex on your Roku device.
1. Click the home button on your Roku remote
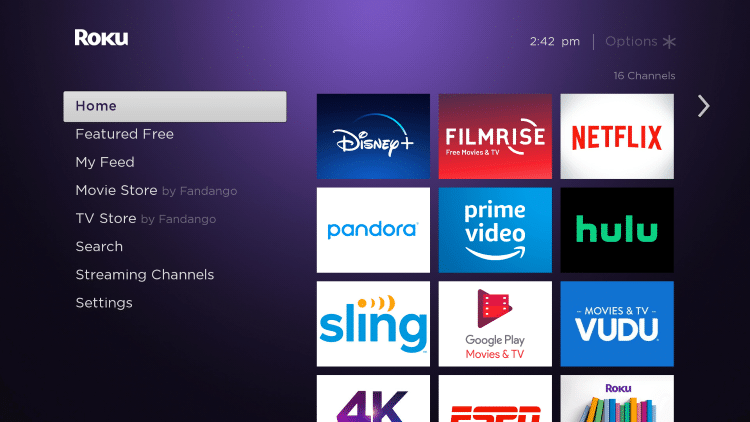
2. Scroll down to hover over search
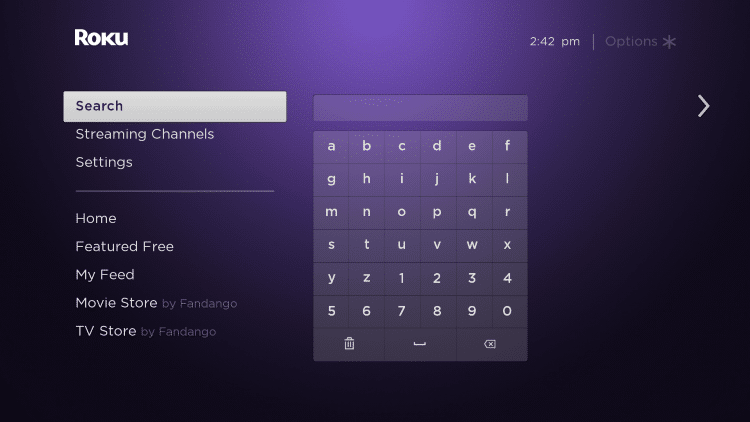
3. Type Plex
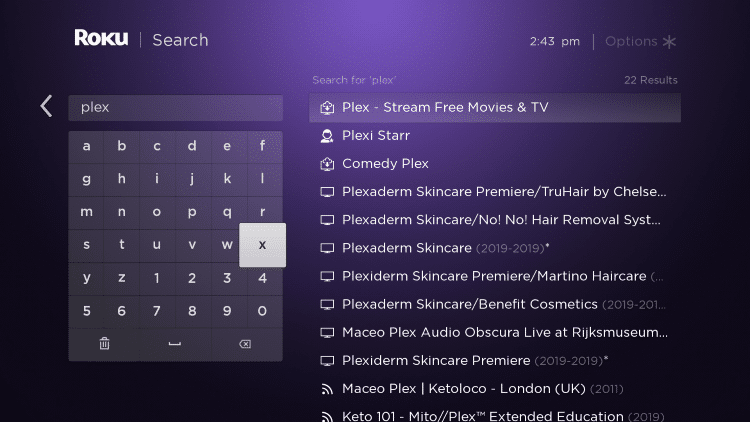
4. Choose Plex – Stream Free Movies & TV
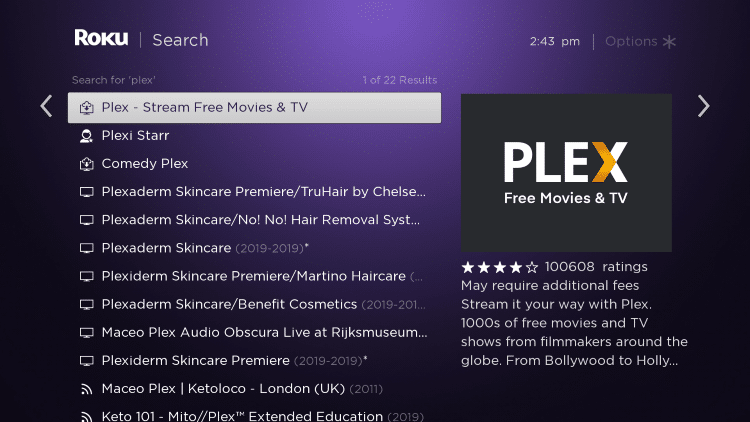
5. Click Add channel
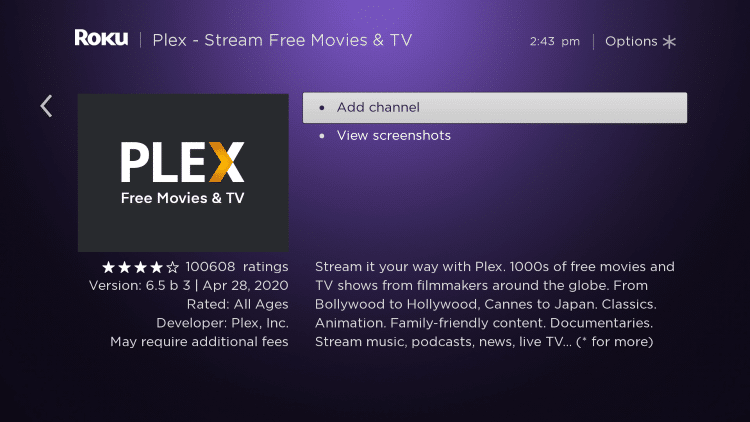
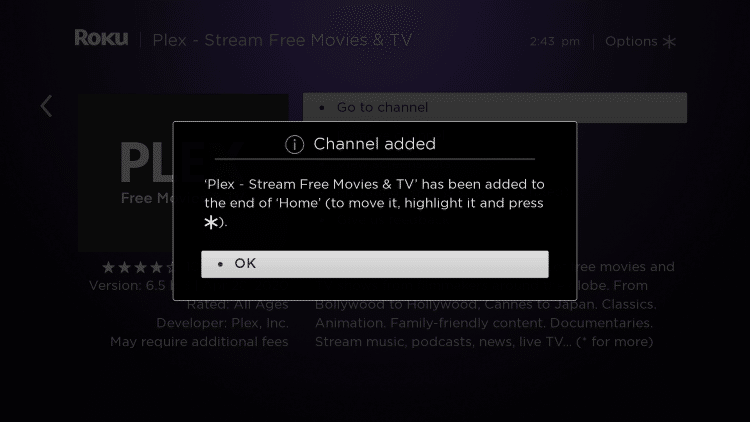
6. Wait for Plex channel to install
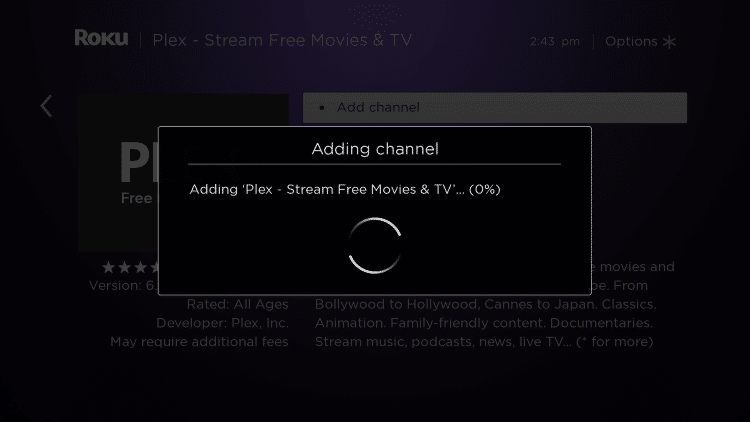
7. Click Ok
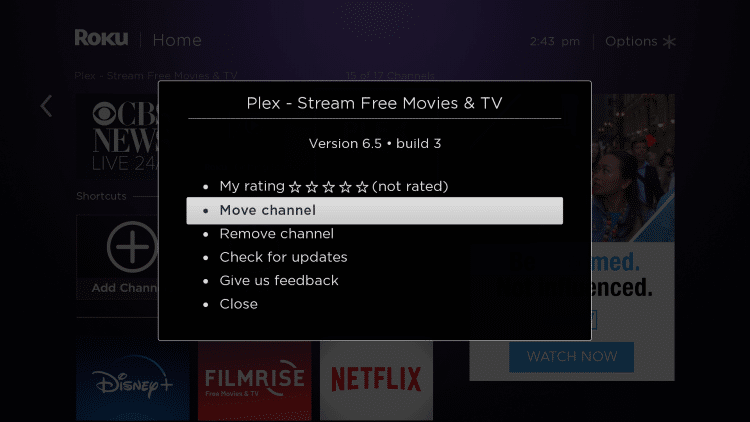
8. Hover over Plex channel and click options

9. Choose Move channel
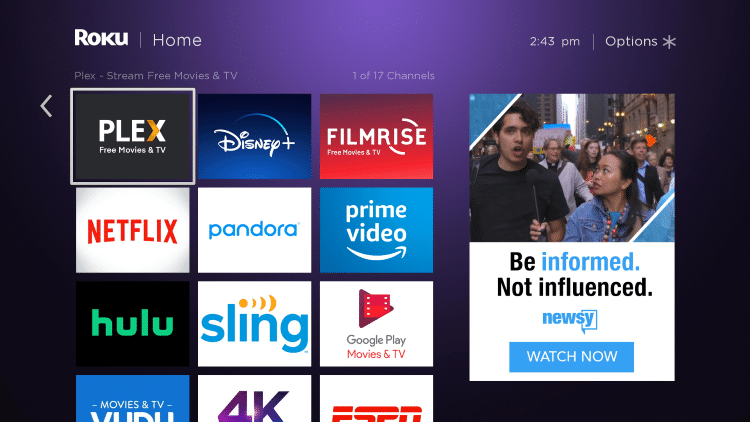
10. Place Plex at the front of your apps list and click to launch
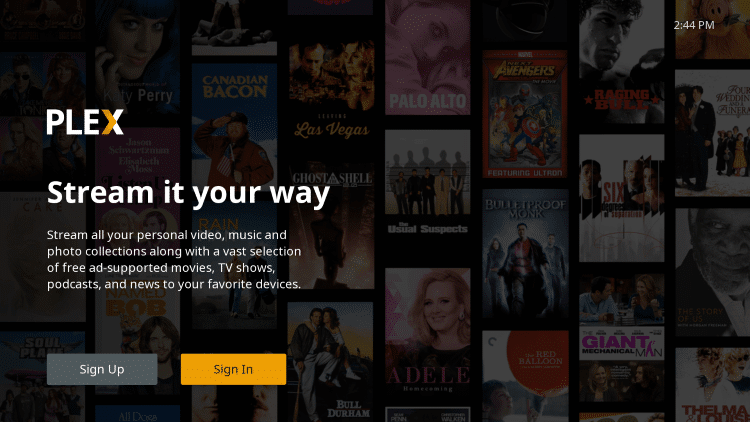
11. From the home screen of Plex, choose Sign In
12. Take note of activation code
13. Launch your Browser (on any device) and enter provided authorization code. Click Link
14. Account Linked message will appear
15. Return to your Plex app on Roku and choose your preferred Server
16. Click Continue
17. Customize navigation to your preferences and click Finish
18. Choose your Plex Media Server

19. Click Movies to find your available content

Enjoy!
Plex Subtitles
For those who have trouble hearing or simply enjoy closed caption when streaming, Plex also has the ability to enable subtitles.
Prior to integrating subtitles with your content, you must have an OpenSubtitles account. OpenSubtitles works with Plex and tons of other apps as shown in our Subtitle guide below:
How to Use OpenSubtitles with Streaming APK’s
The process for Plex, however, is a little different than other streaming apps. Follow the guide below to enable subtitles within Plex:
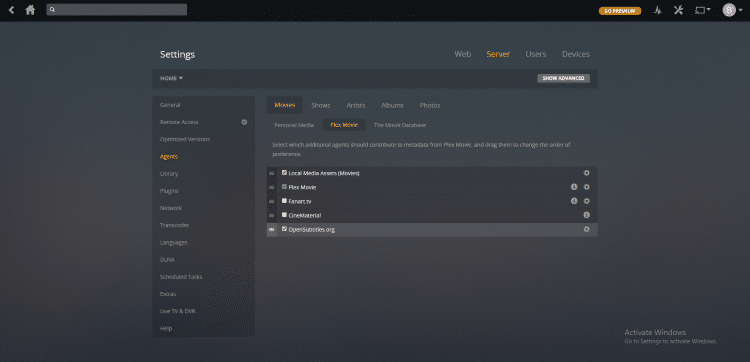
1. Launch Your Plex Server and click Settings (tool icon) in the upper right-hand corner
2. Select Agents and choose Plex Movie

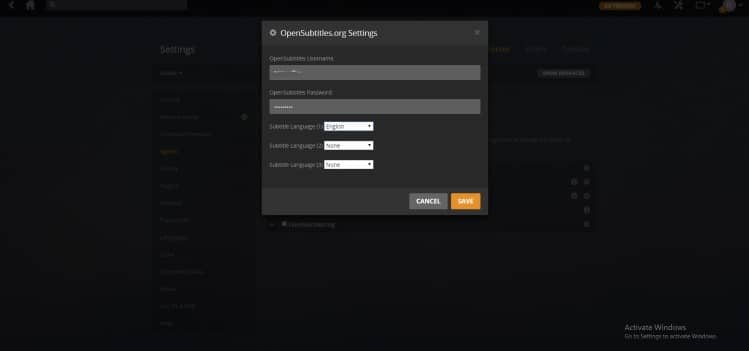
3. Click the Gear icon next to OpenSubtitles.org

4. Enter your OpenSubtitles login credentials, choose your language preferences, and click Save
5. Check the box next to OpenSubtitles
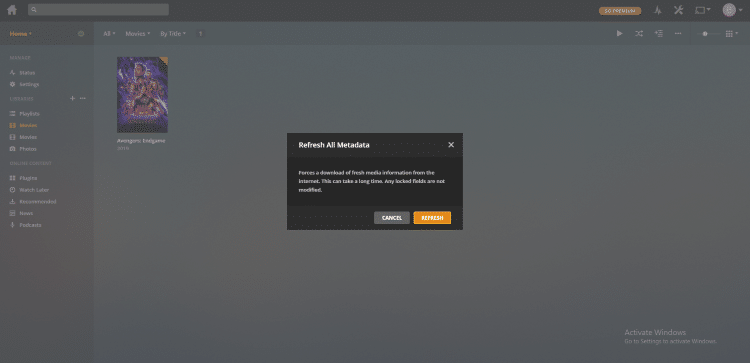
6. Return to the homepage of your Server and click the options button next to the content you want subtitles added and select Refresh All Metadata

7. When prompted, click Refresh
8. Wait for metadata to refresh and that’s it! You can now enjoy Subtitles on your synced content from any device.
To activate subtitles on your Plex Client app, simply play your chosen content and enable within settings of the movie/tv show.
Enjoy!
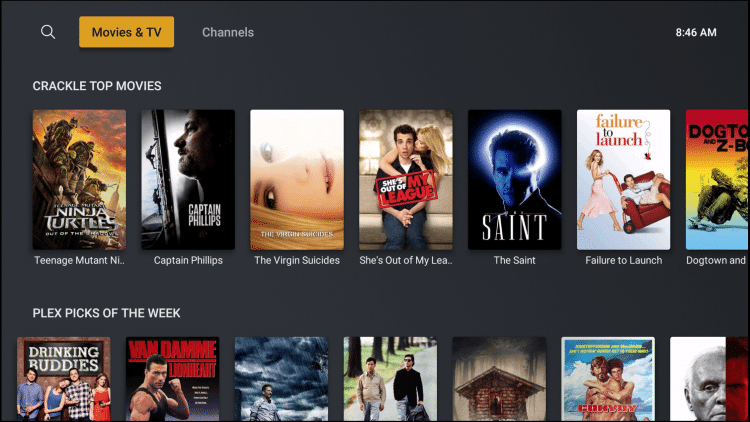
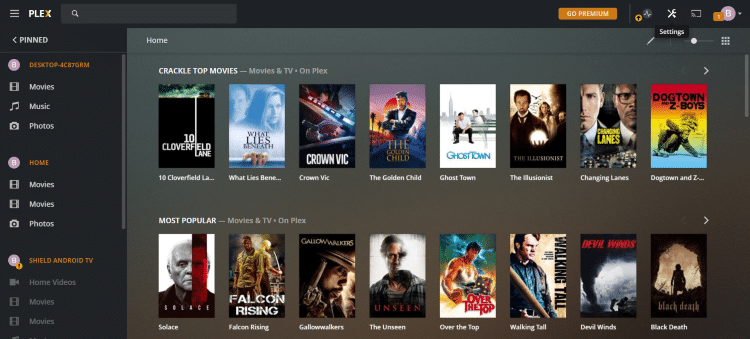
Plex Streaming App
Plex’s newest addition to its all-inclusive platform is the integrated VOD content available for instant access on the Plex app.
This includes major Movie titles and TV Shows from Crackle as well as featured Plex content. The best part is that all titles are free on the Plex app and require no download or transcoding.
Simply find a stream and play instantly right from the Plex app home-screen.
Sharing Plex Content
One of the most prominent features of the Plex system is the ability to share content across users.
Anyone with a Plex account is able to share their stored media files with friends, family, and more.
To do so, follow the guide below:
1. Launch Plex Media Server and click settings
2. Select Users & Sharing on the left side menu bar

3. Select Share Libraries next to the Friends Heading

4. Enter the username or e-mail of the Plex user you wish to share content with and click Continue

5. Choose the media you wish to share and click Send

6. Click finish or copy and send the provided link to ensure your shared media was delivered

7. Shared content will now be available within the recipient’s media server

That’s it!
Sharing media between Plex users is a great way to enjoy tons of content and fill libraries with your favorite Movies, TV Shows, and more.
Using Plex is a great way to transfer photos and home videos as well. Gone are the days of sending e-mails filled with attachments and large amounts of data.
Plex makes storing and sharing all of your media a breeze.
Integrate Trakt within Plex
Trakt users have the ability to integrate their account within Plex to help sync their content with ease.
Use the guide below to integrate Trakt within the Plex Media Server:
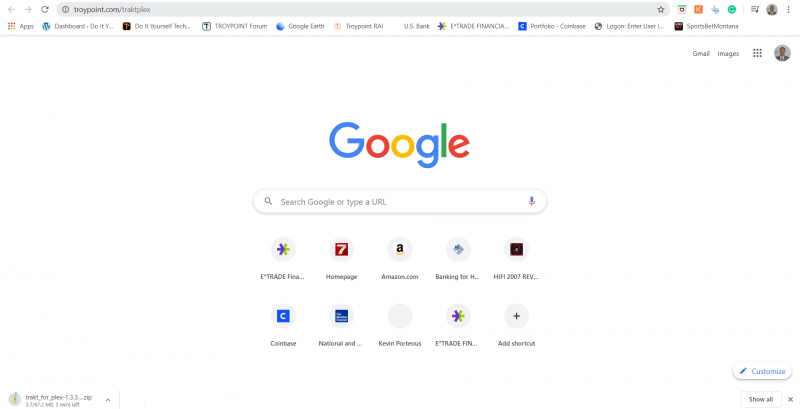
1. Within your Browser, type troypoint.com/traktplex to download the trakt plugin file
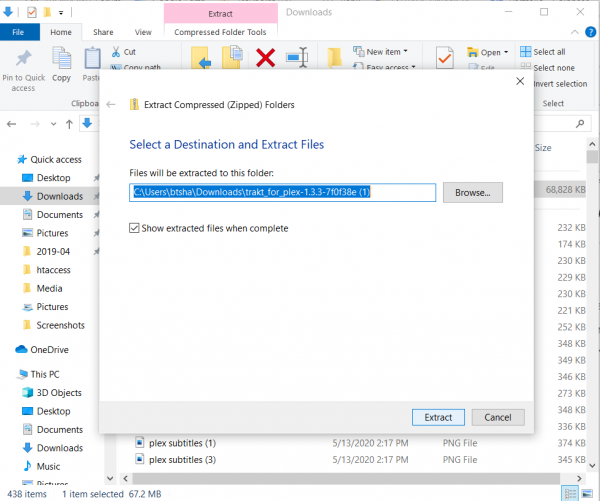
2. Once download is finished, find the file in your Downloads folder and right click to select Extract All

3. When prompted, click Extract
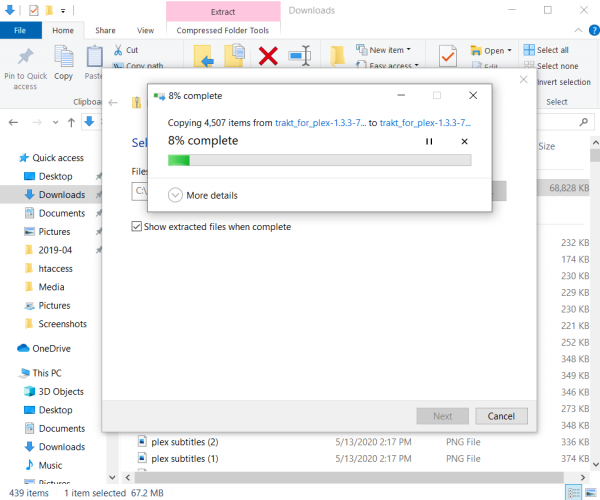
4. Wait for extraction process to finish
5. Once finished, search for and open the Plex plug-ins folder by typing the following in your search bar: %LOCALAPPDATA%Plex Media ServerPlug-ins

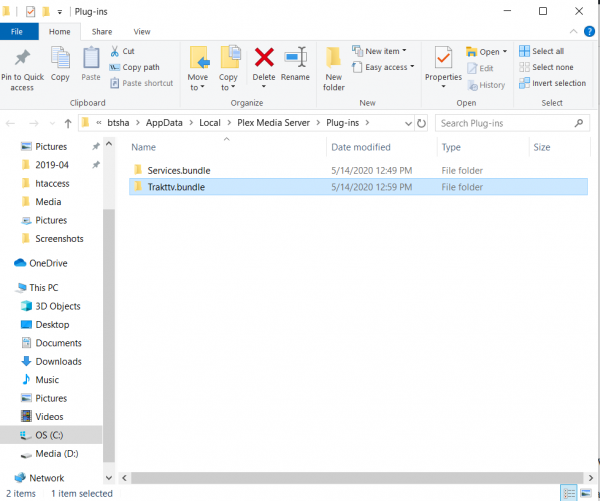
6. Locate your trakttv.bundle folder and drop in the Plex Plug-in folder as shown below
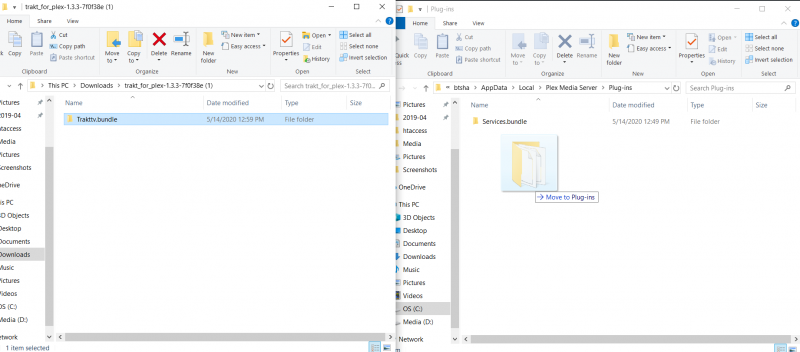
7. The trakt file will now appear within Plex Plugins folder
8. Launch Plex Media Server and click Settings
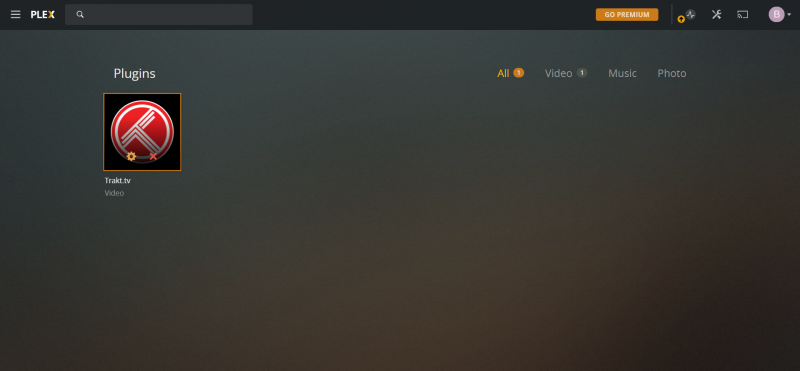
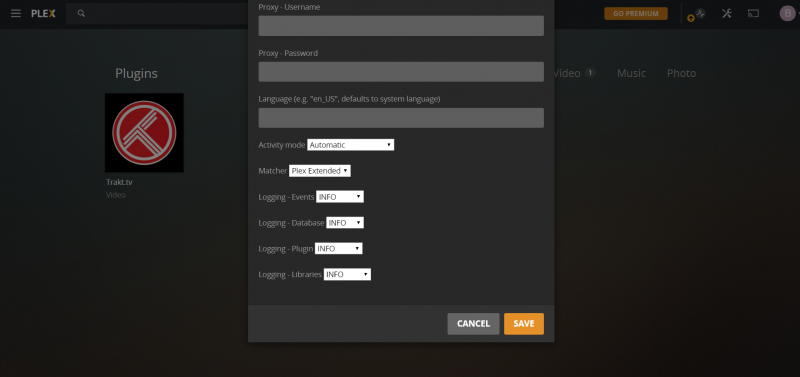
9. In the bottom left-hand corner, Select Plugins under Manage

10. The Trakt icon should appear within the Plex Plugins category. Click the gear icon within the Trakt icon
11. Copy the provided link and enter in your browser
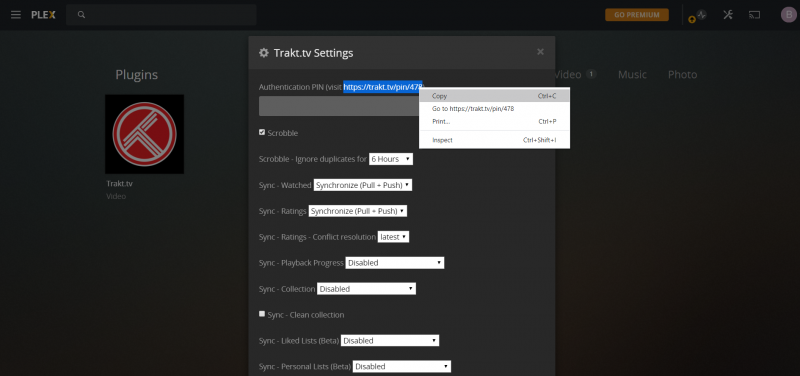
12. If prompted, sign into your Trakt account

13. Click Yes
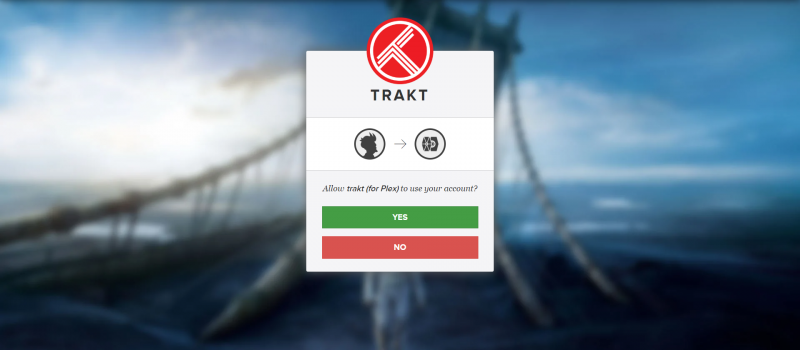
14. Copy or take note of the provided Pin Code
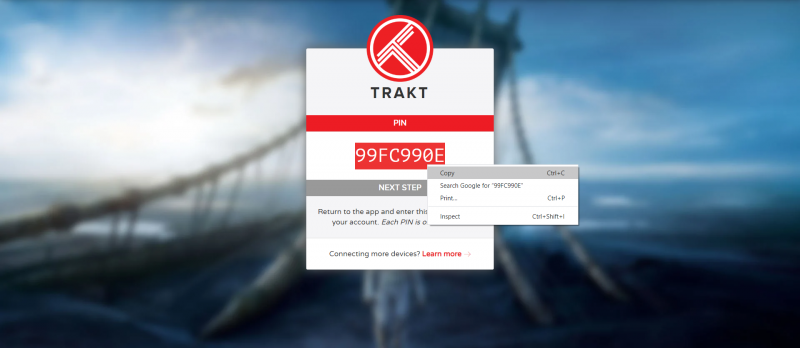
15. Return to your Plex Server and enter Pin. Scroll down and click Save
That’s it! Your Trakt account will now work in conjunction with Plex for an all-inclusive streaming experience.
Plex Alternatives
While Plex is a fabulous media streaming tool, it may not be for everyone.
Due to the home media server needed for use, some may fall short of the requirements to get started using Plex.
Luckily, there are a few other options that require less hardware and aren’t as time-consuming.
The most popular way to watch Movies and TV Shows is via streaming device. There are hundreds of devices to choose from for streaming VOD content. The most popular today is the Amazon Fire TV Stick 4k.
This is due to it’s “jailbreaking” abilities that will enable the side-loading of applications not available within the Amazon App Store.
Jailbreaking your Firestick is the best way to get unlimited Movies, TV Shows, Live TV, and more, all for FREE.
How To Jailbreak a Firestick
Purchasing a streaming device will give you access to streaming apps that feature unlimited content for your viewing enjoyment.
KODIFIREIPTVhas created a list of the Best APK’s for streaming Movies and TV Shows that is updated daily.
These APK’s will provide unlimited content including Movies and TV Shows for streaming on your preferred device.
TROYPOINT’s Best APK’s
Protect Yourself With A VPN When Using This Technology
Most cord-cutters use a VPN to hide their Internet activity while streaming movies, TV shows, and live channels.
If you aren’t using a VPN when accessing free or low-cost media, your Internet Service Provider, government, hackers, and app developers can log everything that you do online through your visible IP Address.
Your current IP Address is 64.180.87.233
The most popular VPN among cord-cutters is Quad VPN due to their blazing fast speeds and zero log policy.
Its important to use a VPN that is fast since we are streaming large HD files. Its also crucial to find one that keeps no logs of what their subscribers access while online.
Setting up Quad VPN on your streaming device is simple!

Step 1 Register for an Quad VPN account by clicking the link below.
This exclusive link provides you with a hefty discount, only available to KODIFIREIPTVvisitors like you.
![]() Register for Quad VPN Account & Save 57%
Register for Quad VPN Account & Save 57% ![]()
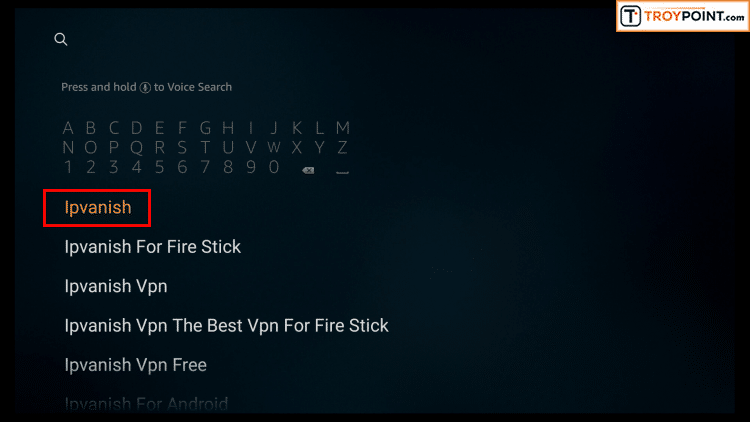
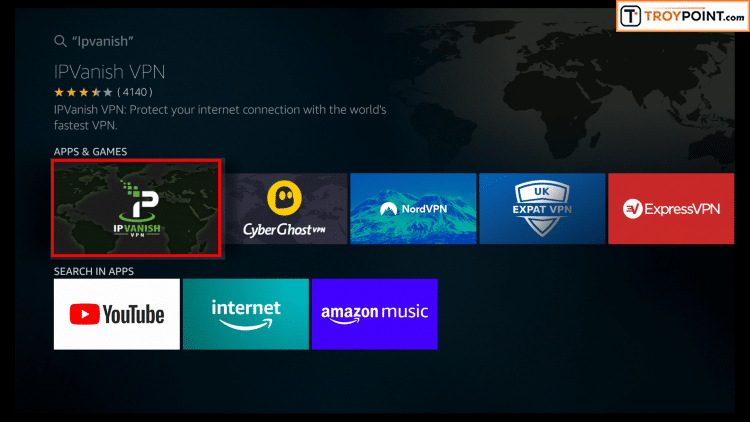
Step 2 – Hover over the search icon on your Firestick, Fire TV, or Fire TV Cube and type in “Quad VPN”
You may also find the Quad VPN App in the Google Play Store for those of you who are using Android TV Boxes, phones, and tablets.
 Step 3 – Click the Quad VPN option that appears.
 Step 4 – Click the Quad VPN icon under Apps & Games.
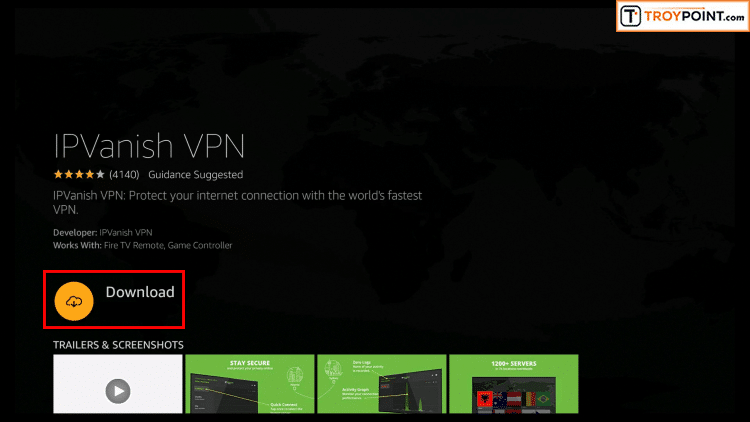
 Step 5 – Click Download.
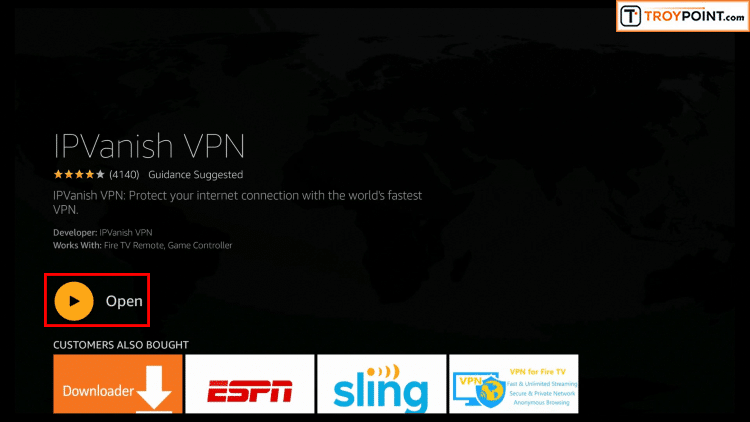
 Step 6 – Click Open.
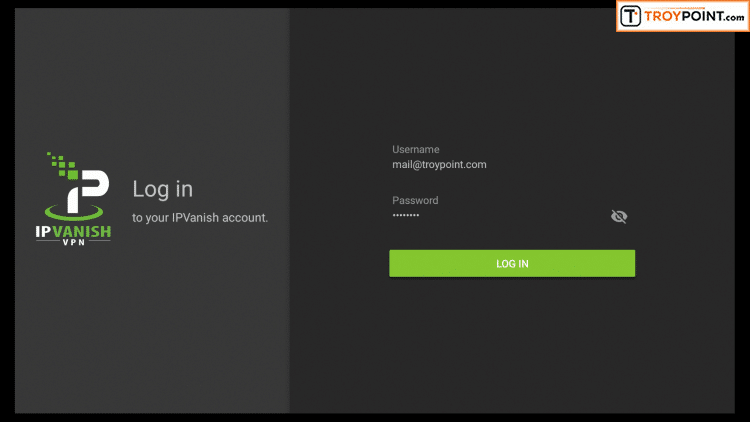
 Step 7 – Enter your username and password to login. Your username is the email that you used to register for Quad VPN service with and your password is automatically generated and emailed to you.
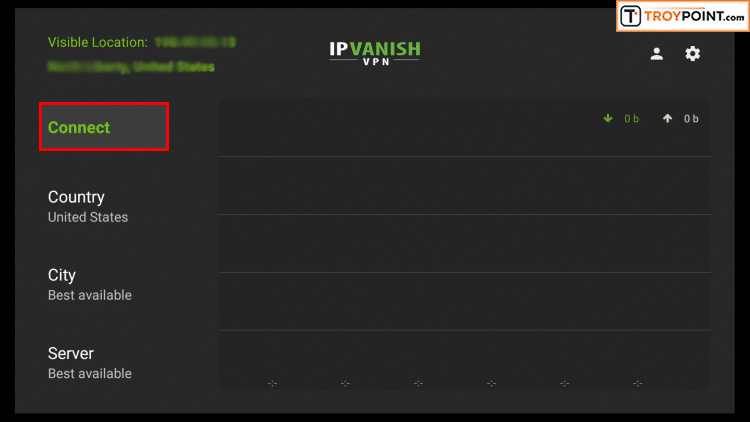
 Step 8 – Click Connect button.
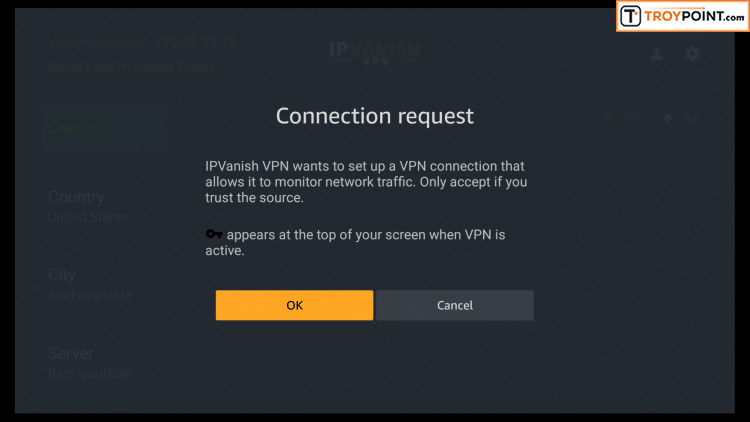
 Step 9 – Click OK for Connection request if it appears.
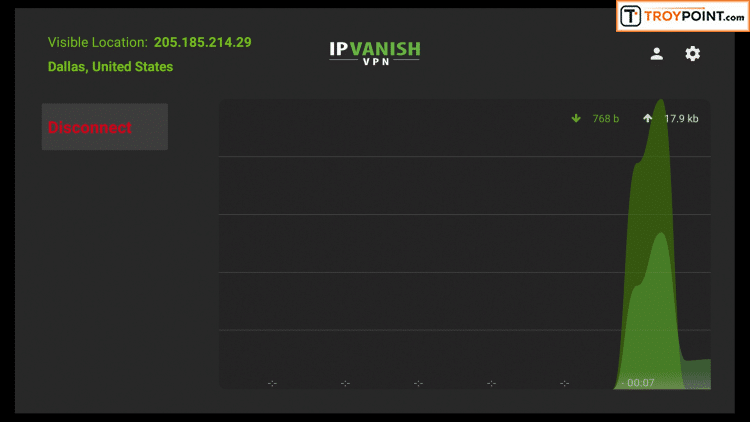
 Step 10 – You will notice that your IP Address changes along with location of connection. You are now operating anonymously through your device.
Click the Home Button on your remote and the VPN will remain running in the background.
 Congratulations! You are now protected by a VPN which means everything that you stream or access through your Firestick or Android TV Box is hidden from the rest of the world.
If you ever need to stop the VPN service, simply re-launch the application and click the DISCONNECT button.
Plex Frequently Asked Questions
Is Plex Free?
Yes, Plex membership is 100% free. However, Plex also offers Plex Pass which is a paid service that provides added features and benefits.
Is Plex Illegal?
No. Plex is completely legal and available for use on nearly any device.
How Does Plex Work?
Plex stores and saves your media files including Movies, TV Shows, Photos, and more. You can then access these files remotely from nearly any device you prefer with the Plex client app.
How do I watch Movies on Plex?
The Plex Streaming App features free movies and tv shows available for streaming. However, users can also watch their own downloaded content including Movies, TV Shows, and more.
What is the Best Server for Plex?
There are tons of options to use as a Plex Server including PC, Linux, NVIDIA SHIELD, and others. However, most use their at-home desktop PC that will work perfectly as your Plex Home Server.
What do I need for Plex?
Plex requirements to get started include a home media server, downloaded/saved media content, and a streaming device such as the Amazon Firestick or Android TV Box.
Please follow and like us:
The team at Kodi Fire IPTV strongly suggests that you use a VPN at all times.
Be it for browsing, watching Kodi, watching IPTV or anything else – the one that we recommend is Quad VPN. They provide you with very fast speeds, while keeping you protected. They can also unblock most streaming sites in the US and UK!!
Grab your own Quad VPN and regain your online privacy now!
")


